Sunday, January 31, 2016

All I Need Stenciled Shirt

  I've decided to make birthday gifts for all of my closest relatives this year. This means I'll be making 28 gifts total! It's not so crazy as trying to make Christmas gifts for everyone though. =) I've missed one birthday so far (I'll still be making that gift, but it will be late) but I've finished four peoples' gifts!

  This first set is actually not for a relative, but for my sisters' and brother's best friend, MJ. I trawled her Pinterest boards for a while to make sure I'd be giving her something she liked, and found that she'd pinned this saying several times:

  I whipped the saying up in Silhouette Studio using a handful of different fonts. I wanted to cut it from vinyl, but didn't have a color I liked to go with these fabrics, so I decided to stencil it. Only I was also out of freezer paper! Luckily I had some full-sheet sticker paper that worked... the lines aren't quite as crisp as they would be with freezer paper but are still pretty clean. I did manage to get paint outside of my stencil but I'm trying to just ignore that! I tried to match the lettering to the green in the fabric. It's a tiny bit dark, but I didn't have enough white paint to lighten it further.

  I used some plain black knit for the body of the shirt, bought from Girl Charlee a year or so ago... it's thinner than I prefer but has nice stretch and recovery and doesn't pill or fade. The accents are made from fabric leftover from this shirt. I used Jalie 2805 to make the shirt, the 3/4 sleeve, round-neck version. I lettuce-edged the hem:
 
  And the sleeves:

  I usually use just one fabric when I'm making a shirt, but it was fun using a combination this time!

  I used Heidi and Finn's free slouchy beanie pattern to make a hat to go with it... I used this pattern before here, and it was quite loose, which means the largest size worked perfectly for an adult-sized hat.

  And because it doesn't look like much laid flat and she was handy, here is Beckers modeling it for me;

  I'm happy to report that MJ liked her gifts! And I'm pretty happy with how they turned out. =)


Thanks for stopping by,

Sunday, January 24, 2016

Let It Glow Berry Shirt

  When I was finished making the dresses for the girls, I had a good-sized chunk of the berry fabric (Let it Glow Berries in Slate by Moda) left, so I decided to use it for a coordinating shirt for myself.

  I started with my woven sloper, created a yoke, and moved the waist dart into gathers at the neckline. Since it's been over a year since I last used the sloper, I had no idea if it would fit or not and made a muslin out of some flamboyant quilting cotton I had taking up room on my shelves. 

  Based on the muslin, I lowered the yoke and neckline by 1.5", brought the shoulder seam in and raised the sleeve cap by 1/4", added 1/2" across the bust, and widened the hips by... I think it was 3/4". I didn't have enough fabric for full-length sleeves like I'd originally planned, so I made short ones with bows. And the result?

  It's far from perfect, but considering how long it's been since I sewed anything woven for myself, I'm pretty pleased! The curve from the waist to hips is a little bit too dramatic, and results in kind of a fin across the hips, so I'll definitely change that next time. I may go back in and smooth it out on this shirt, even though it will mean unpicking part of the invisible zipper. I'd also add a little bit more room across the bust and straighten the side seam slightly.

  If I wanted to make it more fitted, I would deepen the back darts a little bit too... but I wanted this one a little bit more relaxed. I think I might prefer keeping the waist darts instead of the side bust darts, but this does help smooth the lines over my belly a little bit.

  The main fitting issue in the back is the armscye... there appears to be entirely too much fabric there! I'm hoping to make a set of muslins to work out that issue, but I want to do it in solid fabric so I can see what's going on better.

  As for construction, I kept things pretty simple by serging a lot of the interior:

  The yoke is clean-finished though, and has flat piping on both exterior edges. This is the interior:

  The only invisible zipper I had that would work at all doesn't really match:

  But it's not noticeable at all from the outside.

  I made short continuously bound vents on the sleeves and added 'cuffs' that are folded and top-stitched down along the top edge. The ends of the cuffs are cut in a curved point.

  I top-stitched the vents too:

  I love the way the sleeves turned out!

  And I think that's it for this shirt! I'd like to make this again in a fabric that drapes better with all of the changes mentioned above, but it may be a while until that happens. This shirt is pretty awful for nursing too, so that's something that I'd want to fix. But overall, I'm still pretty happy with it!

Thanks for stopping by,

Monday, January 18, 2016

Christmas Dresses

  I've been spending most of my spare time sewing and crafting instead of posting lately! Which is why I haven't shared these dresses until now... but here they finally are!

  For the three older girls, I started with the Georgia Vintage Dress pattern, but heavily modified it. I swapped the gathered skirt out for a circle skirt with a continuously bound back placket. I'd never done one before so I tested it out on some scraps first. I decided to hand-stitch rather than top-stitch for the second pass for these dresses. I love the results!

  I moved the shoulder seam in or out as necessary for each child so that once sewn it would land 1/2" inside their shoulder points, then added gathered sleeves. The sleeves narrow at the elbow and flare out again toward the wrist, then are gathered with elastic thread at the wrist. I did a double-fold hem on three of the dresses' sleeves, and did a bias facing on the fourth... next time I'll use the bias facing on all of them!

  I sewed the sleeves and bodice this way, and slip-stitched the waist seam down. I French-seamed the sleeve seams, and the seams of Booper's skirt (hers was longer and wouldn't fit on the fabric in one piece). I added a back seam to Booper's skirt too, but realized later that it was totally unnecessary and only served to add bulk at the point of the vent.

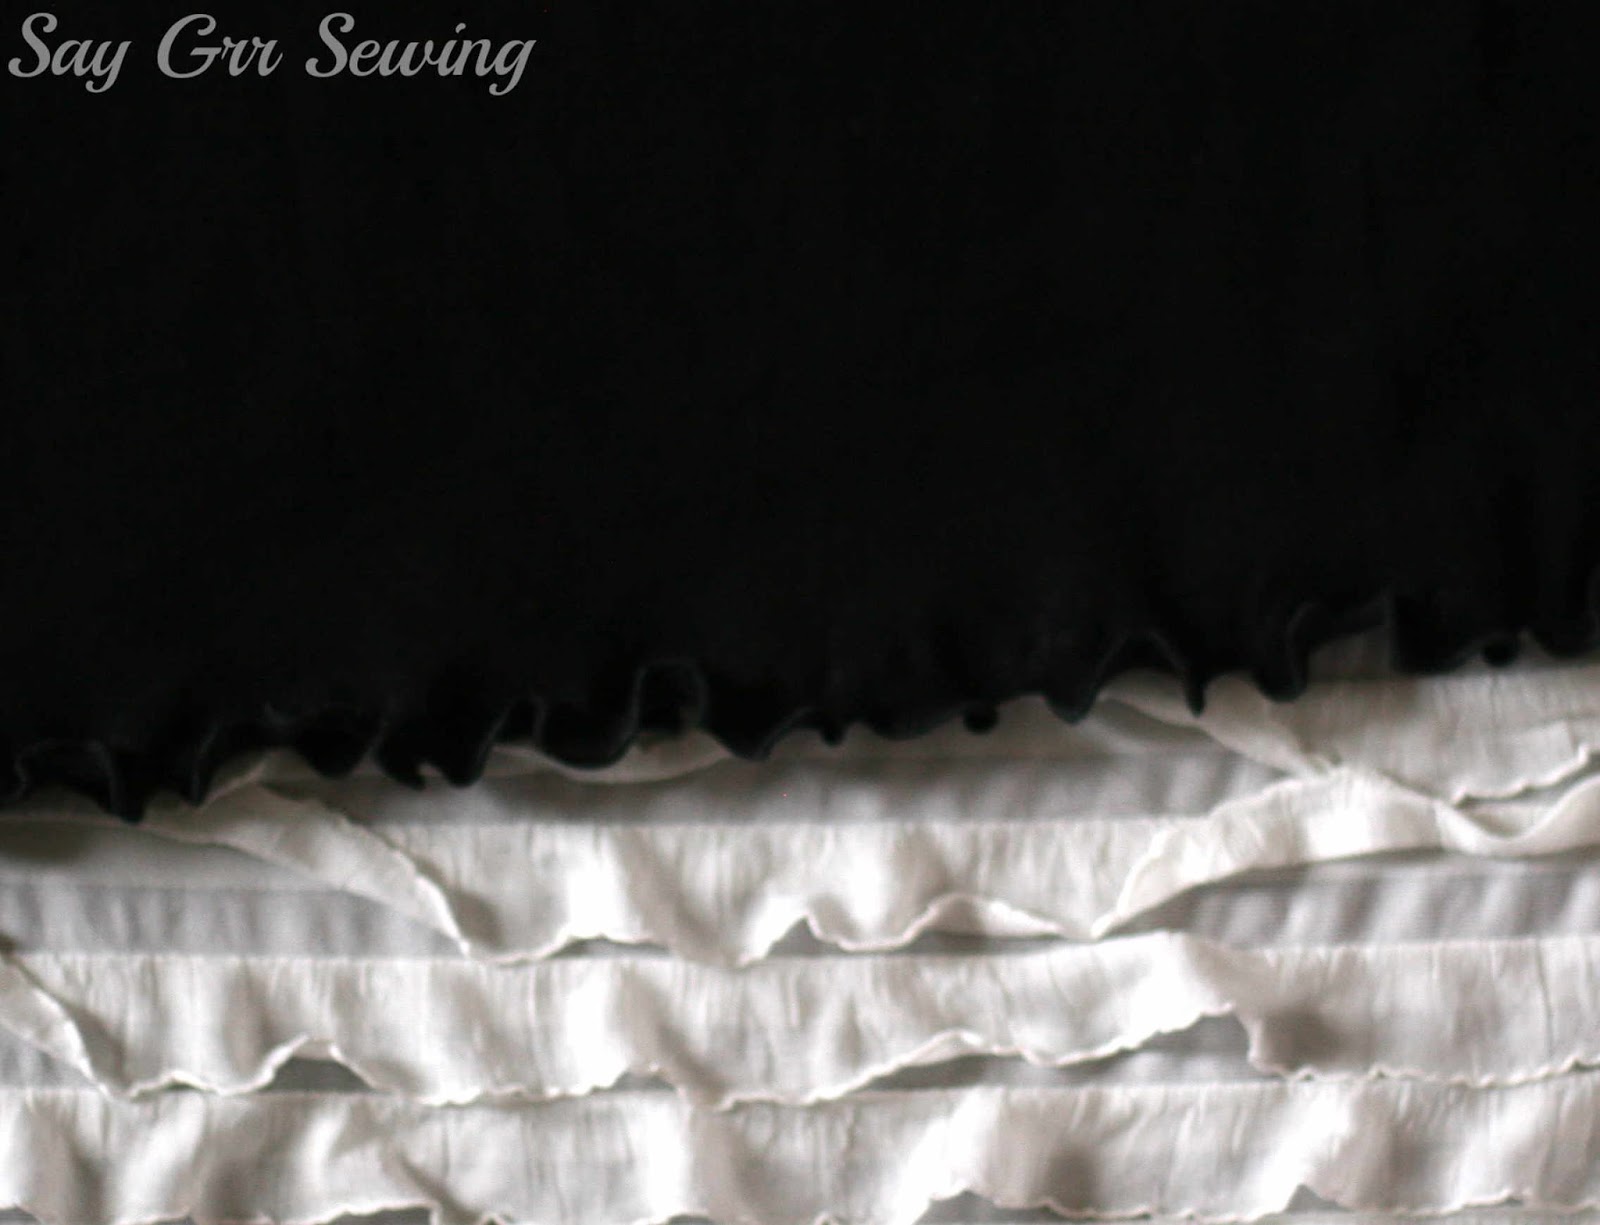
  I kept the front sash piece, but sewed it on differently, and altered the necklines for all of the dresses. For Boopers, I widened and scalloped the neckline:

  The center back scallop should have been curved a bit more gently, but at least it lines up at the top!

  Here is the whole front of Booper's dress... I also added flat piping to the front sash on all of the dresses.

  And the back... I really love the contrasting sash! Especially when it's been starched and pressed. I originally planned on interfacing all of the sashes but didn't have nearly as much interfacing as I though, so didn't end up adding it to any of them.

  And here it is on Booper:

  Back:

  For Gaiw's, I squared the neckline and added a ruffle. I wish I'd thought this through more thoroughly though... I would have bound the neckline after adding the ruffle instead of tucking it into a seam, because of course it wants to stand up even after pressing it vigorously.

  I also clipped the ruffle in one spot when I was grading the neckline and it pulled out of the seam when I washed it... so that's going to have to be repaired. =(

  Overall it's still cute though!

  And Gaiw loved the unruly ruffle.

  Gaiw managed to grow quite a bit between when I measured her and when the dress was done, so it's shorter than I meant for it to be, but not too much.

  Back view:

  I added a flat-piped yoke to Becker's dress.

  From the back:

  I really love how this one turned out!

  I think I need to make more yoked dresses. =)

  Here it is on Beckers:

  And from the back:

  Foof's dress was made using the free baby Geranium pattern, but heavily modified. I added a sash, added sleeves, made a circle skirt, and brought the sides in by about 1/2" to make it more fitted. Of course I failed to take into account how fast babies grow, so by Christmas it was quite short and a tiny bit tight in the chest, but still pretty cute!

  I also converted the front to a crossover.

  I had a hard time wrapping my brain around how to sew this one so the insides would be nicely finished, but in the end I made it work!

  I love the giant sash, even though it's not exactly practical on a baby who can't quite sit up on her own yet!

   I made a matching headband for Foof, and bows on clips for her sisters, using a combination of sewing and (ick) hot glue.

    I seriously love that sash!

  After making and photographing these dresses, I had a lot more fabric leftover than I expected, so I made a coordinating shirt for me... the first time I've sewn a non-stretchy garment for myself in quite a long time! I don't have worn pictures of it yet, because my schedule and the weather haven't been cooperating with each other.

  This fabric is Moda Let it Glow Metallic Slate Berries, bought from the Fat Quarter Shop. It appears to be gone there, but I've also seen it at Fabric.com and a couple of other quilting fabric stores. The red is Moda Bella Solids Country Red, and the flat piping is made from Moda Bella Solids U Brown.

  The owner of the Fat Quarter shop was wonderful, and helped me pick the fabrics that coordinated best. =)

  The gold KAM snaps were some I bought last year, but they matched the gold glints in the fabric beautifully. =)

  And that's it for these dresses! Now to get photos of the shirt I made myself! =)

Thanks for stopping by,