Sunday, August 30, 2015

Smocked Baby Dress

  This dress has been in progress for over a month now- and it's finally finished!

  I've been thinking about learning smocking for some time now, and when Frances Suzanne created a series on smocking, I decided it was time to finally try it. I searched for smocked baby dress patterns and quickly found a couple that I liked- the Children's Corner Missy Daygown, and the Amerlane and Amberpetites Infant Snowdrift Pattern. I actually bought both, and I'm glad I did. The Missy pattern has a lot more helpful tips for a first-time smocker, and I used those hints in conjunction with the Snowdrift pattern and the series on Frances Suzanne to figure it all out.

  I don't have a pleater, and I haven't found anyone in my area with one yet either, so I marked dots in a 3/8" grid and pleated by hand using those dots. The marking was probably the most time-consuming part of the whole venture! I would have used iron-on smocking dots, but I wasn't sure how long they would take to ship! Actually smocking it was pretty fun, although my vertical spacing is pretty bad- I think next time I'll pleat half-rows so I have extra quidelines to keep my spacing more even. The bullion rosebuds aren't included in the smocking pattern- instead, it has smocked flowerettes in a few different spots that I left out. This was my first time making bullions too! I wish I'd swapped the yellow row and the upper pink row to bring out the heart shapes in the smocking but otherwise I'm pretty happy with it.

  The materials are basic quilting cottons from JoAnn... the only solids in the color I wanted that weren't mostly polyester. I searched for a good 45 minutes for a tiny stripe or gingham in pink, but there was only one pink gingham, and its quality was abysmal... and then I wandered into the binding section and found the perfect gingham quilt binding! (Although it was pretty expensive- $10 for only 3 yards of binding.) I used that to make tiny piping for around the yoke:

  I also bound the sleeves with it. This is the inside of the dress- I did French seams everywhere and slip-stitched the yoke and sleeve bindings down following the pattern.

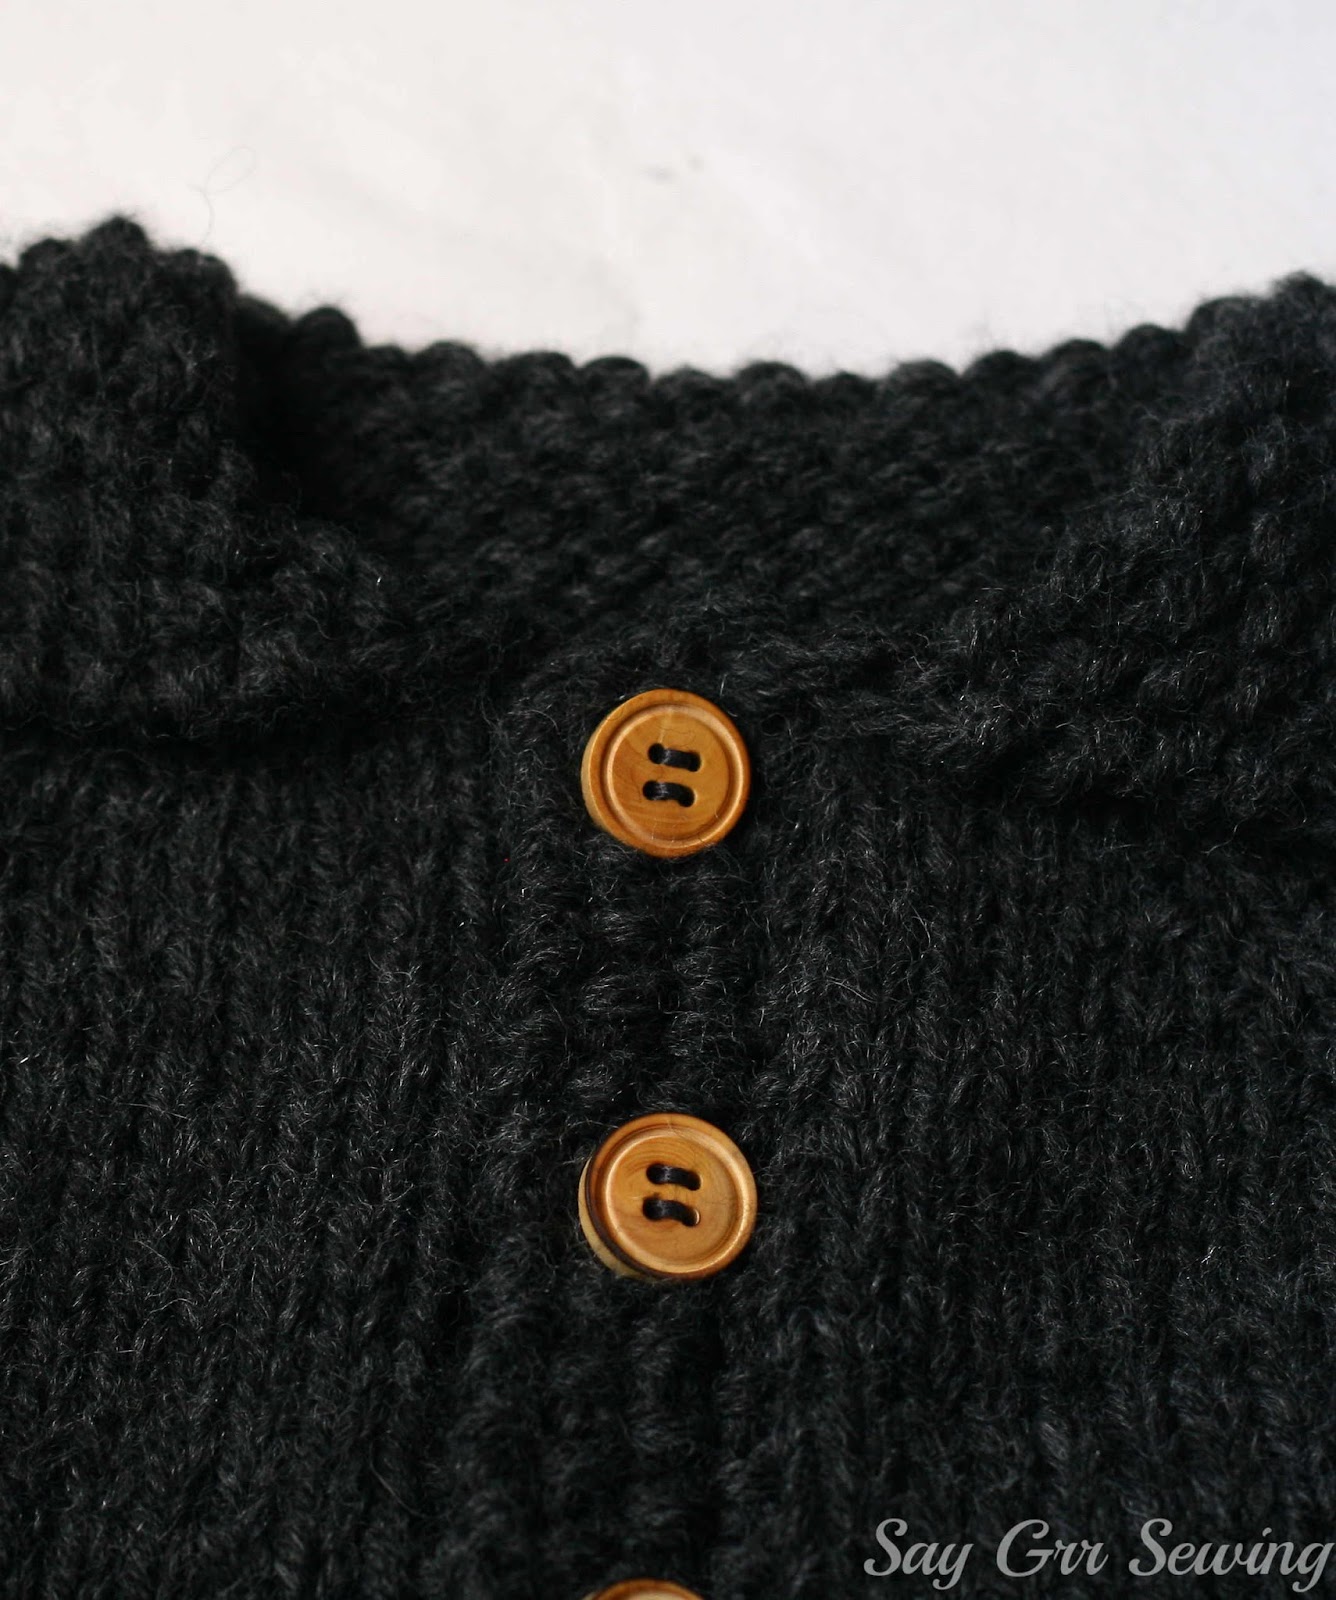
  I really wanted to use buttons on this dress, and not snaps- but although I have a buttonholer, I don't have a cam in a size close to the buttons I was using. I didn't want to risk trying to zig-zag them when the dress was so close to being done, so I used it as an opportunity to learn hand-worked buttonholes. My first few aren't so pretty, but the last couple are pretty decent!

  I regret that the only wax I had for my thread was unbleached beeswax- it gave the thread a dingy appearance that really bugs me. Hopefully it will look cleaner after being washed!

  I was planning on doing bullion rosebuds on all of the buttons but decided to only decorate the top two after struggling with them for quite a while. Although I'm thinking now that a good part of the struggle was due to the many layers of fabric in the yoke, and I may go back and add them to the rest of the buttons after all. =)

  The pattern includes directions for smocking the back of the dress as well as the front, but I chose to gather the backs- directions for that are also included. However, if I were to gather again I'd run the gathering stitches after sewing the sleeves in, so I wouldn't have to keep pulling the threads out of the way while sewing! I'm bummed that my iron, which has never spit water, decided this dress would be a fantastic place to start, and it left a big water splotch on the back. I really hope that washes out too. =(

  I used the 11lb size option in the pattern- I would have preferred a smaller size, but this is actually the smallest smocking pattern I've seen yet. I was most of the way through making it and realized just how short and chunky it was going to be! I was already planning on cutting off the included 3-inch hem and doing a Madeira applique hem (another new technique!) but decided when I saw how short it was to keep the length and just do the applique at the bottom. 

  I really, really love the hem! I think it's my favorite part of the whole dress. I forgot about the back button overlap until I'd already sewn it down though, so it doesn't match up there...which is a bummer, but I couldn't think of a good way to fix it at that point. I love how the hem shadows through on the inside of the dress too.

  The yoke embroidery is not included in the pattern, and to be honest I'm not entirely pleased with what I came up with. I drew it out beforehand, but once embroidered it didn't look nearly as cohesive as it did on paper. Next time I would use a different design or leave it off entirely.

  So, in case you were wondering, here's a list of new things I tried for this dress! Smocking, bullions, bullions on buttons and on smocking, micro-piping, hand-worked buttonholes, and Madeira applique. I need more practice on every single one of those, but I'm pretty pleased with my first attempts!

Thanks for stopping by,

Thursday, August 27, 2015

Black And Blue

Another maternity top- finished!

  As with the last one, this is based on my own design with a curved waist seam.

  This time though, I added quite a bit of width at the waist and a bit at the bust, so the fit is much better!

  I doubled the amount of gathers at the center front too, and did a very slight adjustment to the armscye so it's not so wrinkly.

  The fabric is from Girl Charlee, and was much more opaque than I expected for one with a white background! I'm really pleased with the overall quality of this fabric, but unfortunately it appears to be out of stock already... and I just bought this a couple of months ago!

  Because it was opaque enough on it's own, I didn't line this top at all. I accented it with some black knit (also from Girl Charlee, and actually still available!) and used a whole lot of wash-away wonder tape to keep that bitty waistline strip from rolling away while I was sewing it.

  I had some pretty black elastic that I was planning on using around the neckline, but at the last minute I decided I liked it better without, so the neckline is just folded under and stitched with a three-step zig-zag. It doesn't look quite as polished as a balanced twin needle stitch does, but it's not obvious either- and I didn't have to fight with skipped stitches like I would have with the twin needle.

  I used black thread for the lettuce-edging on the hem and sleeves to match the black waist accent and the faux-layering. Overall, I'm pretty pleased with how this one turned out!

  I have a couple of baby things still in progress- that quilt, which was temporarily set aside so I could clean my sewing room (it's clean now! For the first time since we moved here- I love it!) and a smocked baby dress. Hopefully I'll get the dress finished in the next couple of days. It's not turning out how I imagined it at all, but it's still cute!

Thanks for stopping by,

Friday, August 21, 2015

Knit Baby Sweater

It's not sewing... but I'm pretty happy with how this turned out! =)

  I came across this pattern a few months ago and decided to test the waters of garment knitting- while I'd knit a few basic rectangular items, I hadn't yet tried anything with shaping.  A few weeks ago, I bought the pattern, the yarn, and some buttons and got started! I wanted to make it for my littlest to wear this winter, but I'm a slow knitter so I thought it would be best if I started it early.

  I'm still rather surprised that it's already finished! I didn't expect to finish it until at least October!  I knit this in the smallest size, which is 0-3 months. My babies tend to be long and slim, so I added a half-inch to the sleeves but otherwise followed the pattern.

  There were a couple things that were either wrong in the pattern, or that I did incorrectly- at this point I'm not quite sure which! The first is the button spacing- the buttons in the example pictures are much farther apart than mine are. I noticed that they seemed close and added a fourth buttonhole, but I ended up only using 3 buttons after all. ;-) Next time I would space the buttonholes out a bit more.

  Secondly, the seed stitch for the button band and hem wouldn't match up if I hadn't fudged it- with the number of stitches there are in this size before the hem, I would have ended up with a wrong side and right side row with bumps in the same spots at the hem. I knit two together just before the band to hide the mismatch, because I thought it would show up less than a doubled row, and I can't tell it's not perfect unless I'm looking for it- but next time I'd start the wrong-side button band with a knit stitch instead of a purl stitch!

  The third odd thing was the underarm area- no additional stitches are cast on at the underarm area for the body of the sweater, but you are supposed to pick up 4 stitches in that area when knitting the sleeve. Which meant some strange finagling that I'm not entirely sure was necessary, and I'm curious if the sleeves would work just as well without picking up those extra 4 stitches. There were some gaps at the underarm area from that, but I was able to close them up when weaving the yarn ends in.

  I learned a LOT while knitting this! Here are a few things I'd never done that I had to learn for this: the backward loop cast on, binding off and casting on mid-row, using a stitch holder, using double needles (I had to buy some to finish this- I didn't own any!), picking up stitches, and knitting in the front and back of a stitch. Most of those things felt really awkward at first, but were a lot less awkward after doing them a few times.

  I haven't blocked this yet. I keep meaning to and getting side-tracked with other projects! I used Lion Brand Wool-Ease Chunky in Charcoal for this. I have half of a skein left so I'm thinking of making a matching hat, but haven't decided on a pattern yet.

  I read when I was 75% of the way finished with this that one should not choose a top-down garment as their first foray into garment knitting, but it seems to have worked out well enough this time! =) In spite of the things I mentioned above, I felt like this pattern was pretty beginner-friendly, and I'm really happy with how it turned out!

  And that's one out of three things for baby #4 that I've finished! I actually finished the binding for the quilt I'm making her, but I think I need to go back and add more quilting to the borders, because I'm nervous about the batting shifting in the wash.

Thanks for stopping by,

Monday, August 17, 2015

Another Nursing Dress

Remember this black nursing dress, and this navy one? I decided a while back that I wanted to update the tutorial I made for that, for a few reasons: flippy ruffles, accidental exposure, and too much weight. In preparation for that, I've made another, which addresses two of those issues well enough.

  I'm actually not nursing right now, but I doubt I'll have a lot of sewing time after this baby arrives, so I wanted to finish this now!

  To get rid of the accidental exposure problem, I've changed the nursing cutout portion significantly, and after wearing the dress for a day I'm happy to report that there are no more issues in that regard!

  I swapped the full-circle skirt for a half-circle skirt, which means there's a bit less pulling on the bodice. I also like the way it hangs better- it's full without being overwhelming.

  I partially fixed the ruffle problem by lining the front crossover pieces, but I failed to apply the clear elastic I was planning on putting in the neckline, which means it still gapes and flips a bit. Not nearly so bad as my first two versions, and instead of a messy edge there's a neat lining, but I'll admit it's enough to bug me. I'm considering unpicking the waistband and adding the elastic retroactively.

  I added notched cuffs to the sleeves, but did them differently than before- I like the look of these better, and they are actually a bit easier to sew too.

  I'm not happy with the underbust pleats- I experimented and angled them, and they just look like wrinkles. It doesn't really help that the baby pushes the waistband up in the front though!

  I made some small alterations to my armscye too, and the back at least is a tad less wrinkly. I'm still not happy with it, but it is a tiny bit better than before.

  The skirt was an unexpected bit of happiness- I cut the half-circle so the skirt would stretch in the front, but still expected to do a lot of hem-leveling. I didn't have to! The stretch in the front was just enough to make it hang right over the belly! Of course, it will have to be leveled after the baby is born, but for now it's nice to have it even.

  The back bodice of this is lined to help support the skirt, and the skirt is lined to the knee. I love that the lining keeps the skirt from sticking to me!

  The fabric is from Girl Charlee, and is a pretty nice fabric. I do think the weight is less than is stated on the website- I'd say it's closer to 8oz. I love the color! Although my husband is of the opinion that this dress is far too much grey. And he may be right!

  Speaking of whom, thanks to my husband for taking all of these photos for me! =)

  I'm hoping to make another version of this dress without ruffles or pleats as well, but I don't know if I'll get it finished before the baby arrives in September. And in the meantime, I've finished a knit sweater for her, and am very, very close to finishing a quilt. (I just have hand-sew the binding to the last two edges of the quilt.) So I will be back soon! =)

Thanks for stopping by,

Monday, August 10, 2015

Two Year Old Tiered Skirt

  Beckers is now two! Which is pretty crazy, because it still feels like this happened only a couple of weeks ago. I made her a quick tiered skirt for her birthday, just like I did for each of her bigger sisters' 2nd birthdays. (Gaiw's skirt can be seen here, but Booper's was made pre-blog.)

  The skirt is made of four width-of-fabric strips by 5" for the bottom tier, two width-of-fabric strips by 5" for the middle tier, and as much width as I had left (about 32") by 6" for the top tier.

  The gathering took a while, of course, but the interior is just serged and I did a rolled serged hem to keep things simple and light.

  The skirt came out a bit fluffier than I expected, but I suspect that is due to the fabric being slightly stiffer than what I've used in the past for tiered skirts. It's the same fabric I used for this pleated skirt, which still gets worn quite a bit!

  I think it will settle down a bit after I wash it a few times, but in the meantime Beckers certainly doesn't mind the extra fluff! =)

  This little girl... she is a bundle of joy!

  Beckers is still my most shy child, but has finally started to relax a bit in the presence of other people. She'll probably still give you this look if you try to talk to her though:

  Most of the time Beckers is quiet, and seems to notice everything.

  But she is also very mischievous and loves to make people laugh.

  She's still my little snuggler, and loves to sit in my lap and rock, while sing-songing, 'rocky, rocky, rocky, rocky.'

  Beckers loves books, and carrying them around with her. She can sit and 'read' for hours!

  She also loves food, phones, and twirling. =)

  Beckers memorizes things quickly, but insists on calling things by the wrong names. For example, she called Booper 'Gaiw' for months, even though she would point to the proper person when asked where Gaiw was.

  She loves to 'wash' the dishes and help put clothes in the dryer, but she's not a fan of picking up her toys.

  We all adore this little girl!

  In addition to the skirt, I made her a chocolate cake, with cherry whipped cream covering and filling it, drizzled with ganache. Pretty much everything than can go wrong with ganache, did, so it was not nearly as smooth as it ought to have been, but it still tasted delicious!

  Speaking of which, I promised these little girls of mine each a piece of the leftovers, and seeing this photo has reminded them of that promise- so off I go to get them some! =)

Thanks for stopping by,