Wednesday, September 30, 2015

Baby!

Baby R, who henceforth shall be known on this blog as 'Foof' or occasionally, 'Baby Foof', made her appearance on Sunday. =)

  I had been having occasional contractions most of Saturday and through the night, and they turned regular at about 5:30 AM. All of my relatives were worried about a repeat of Becker's birth (though I wouldn't trade that experience for anything!) so we piled all of the daughters and bags in the car and headed for the hospital at about 6.

  The grandparents arrived at the hospital a while after we did, bringing some much-appreciated snacks, and took the girls home with them. Everything slowed down once we were at the hospital (which is what I was afraid of!) so I spent the next 7 hours walking around and bouncing on a ball to try get things going again, between being monitored and poked.

  Finally, at about 2:30 things started picking up again, and at 3 the contractions were regular, close, and strong. I didn't feel an urge to push until about 3:26, and two pushes later Foof's head- still in the sac- came sliding out. One more, and she flew through the air as the sac exploded. I said, 'There she is!' and reached to take her from the midwife, who had caught her neatly. (My husband says that I snatched Foof from the midwife and startled everyone, but it seemed to me that I just gently picked her up.) And she was perfect.

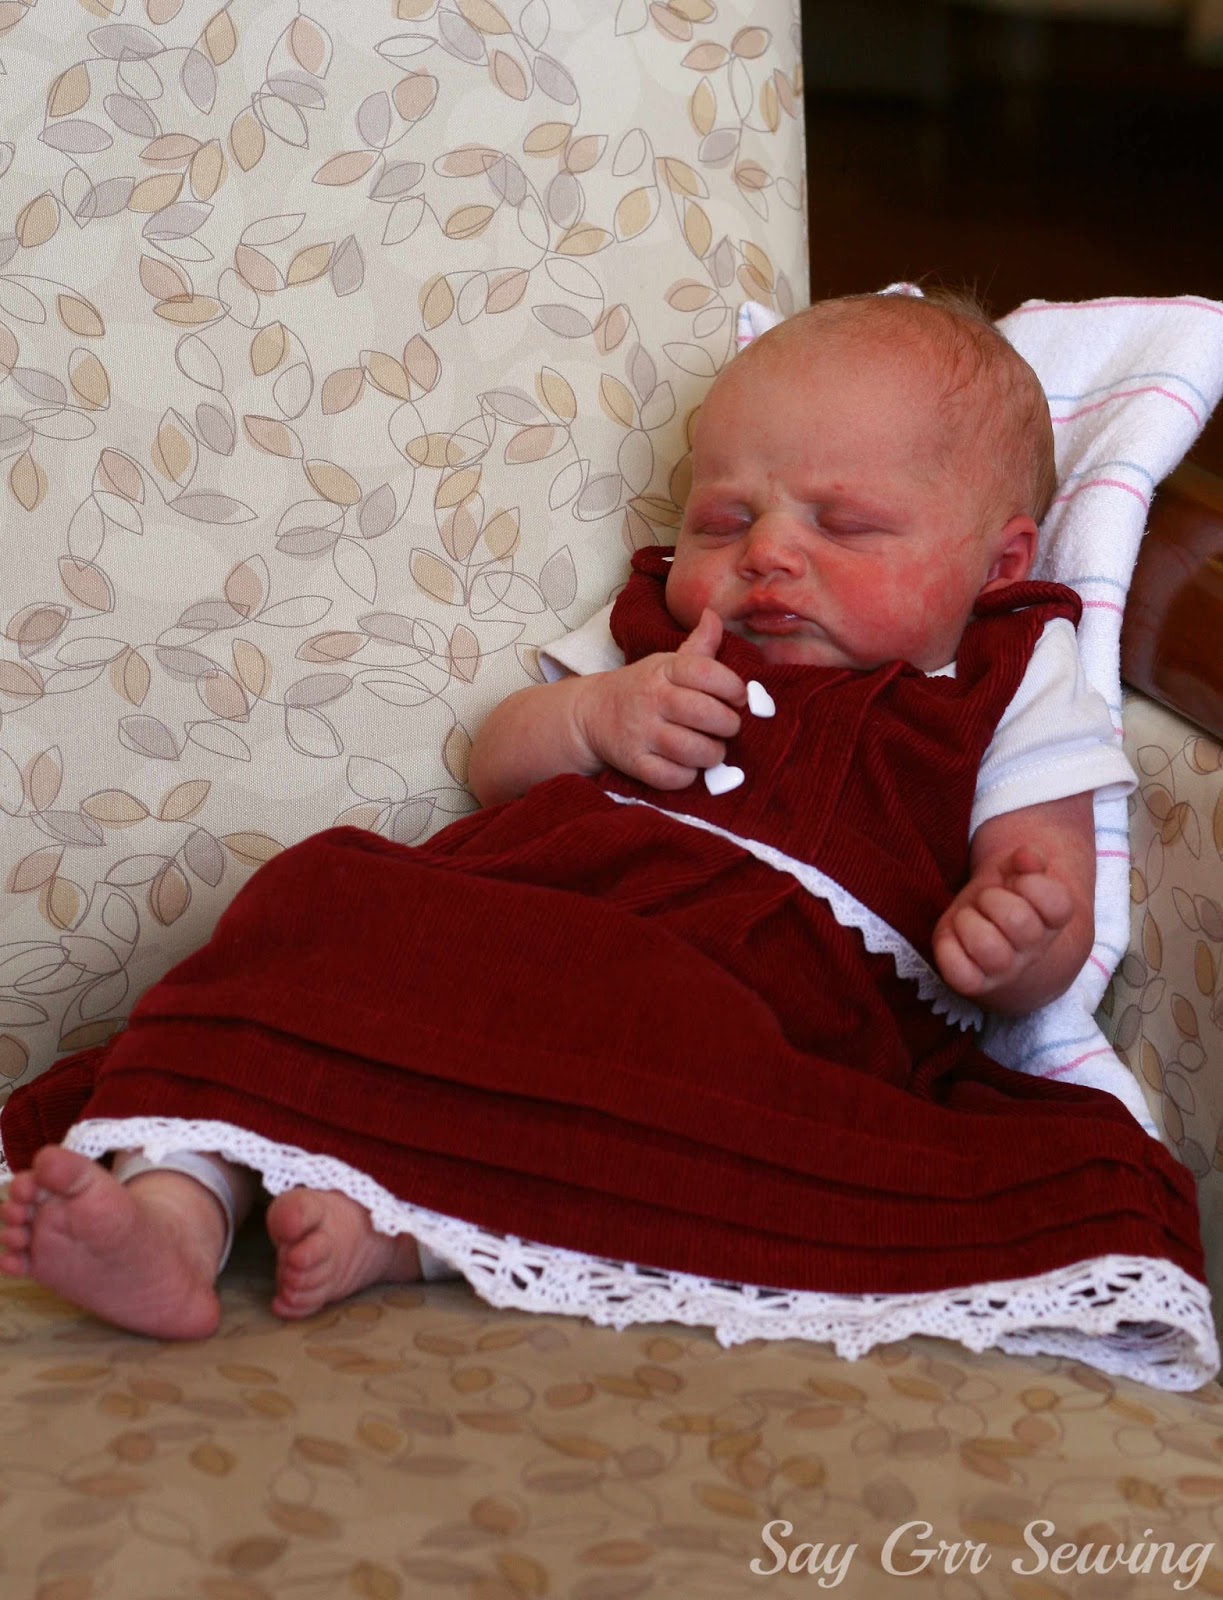
  She still is perfect. =) She has tiny little fingers, a round little face with adorable dimples, itty bitty feet, and is delightfully calm.

  She weighed 7lbs 8oz at birth, and was a mere 19.25" long- short, as far as my babies go! Foof is absolutely perfectly healthy, and we were released from the hospital on Monday afternoon.

  She loves to be held, and hardly cries, and her little face can run the gamut of expressions in 30 seconds or less.

  We all adore her.

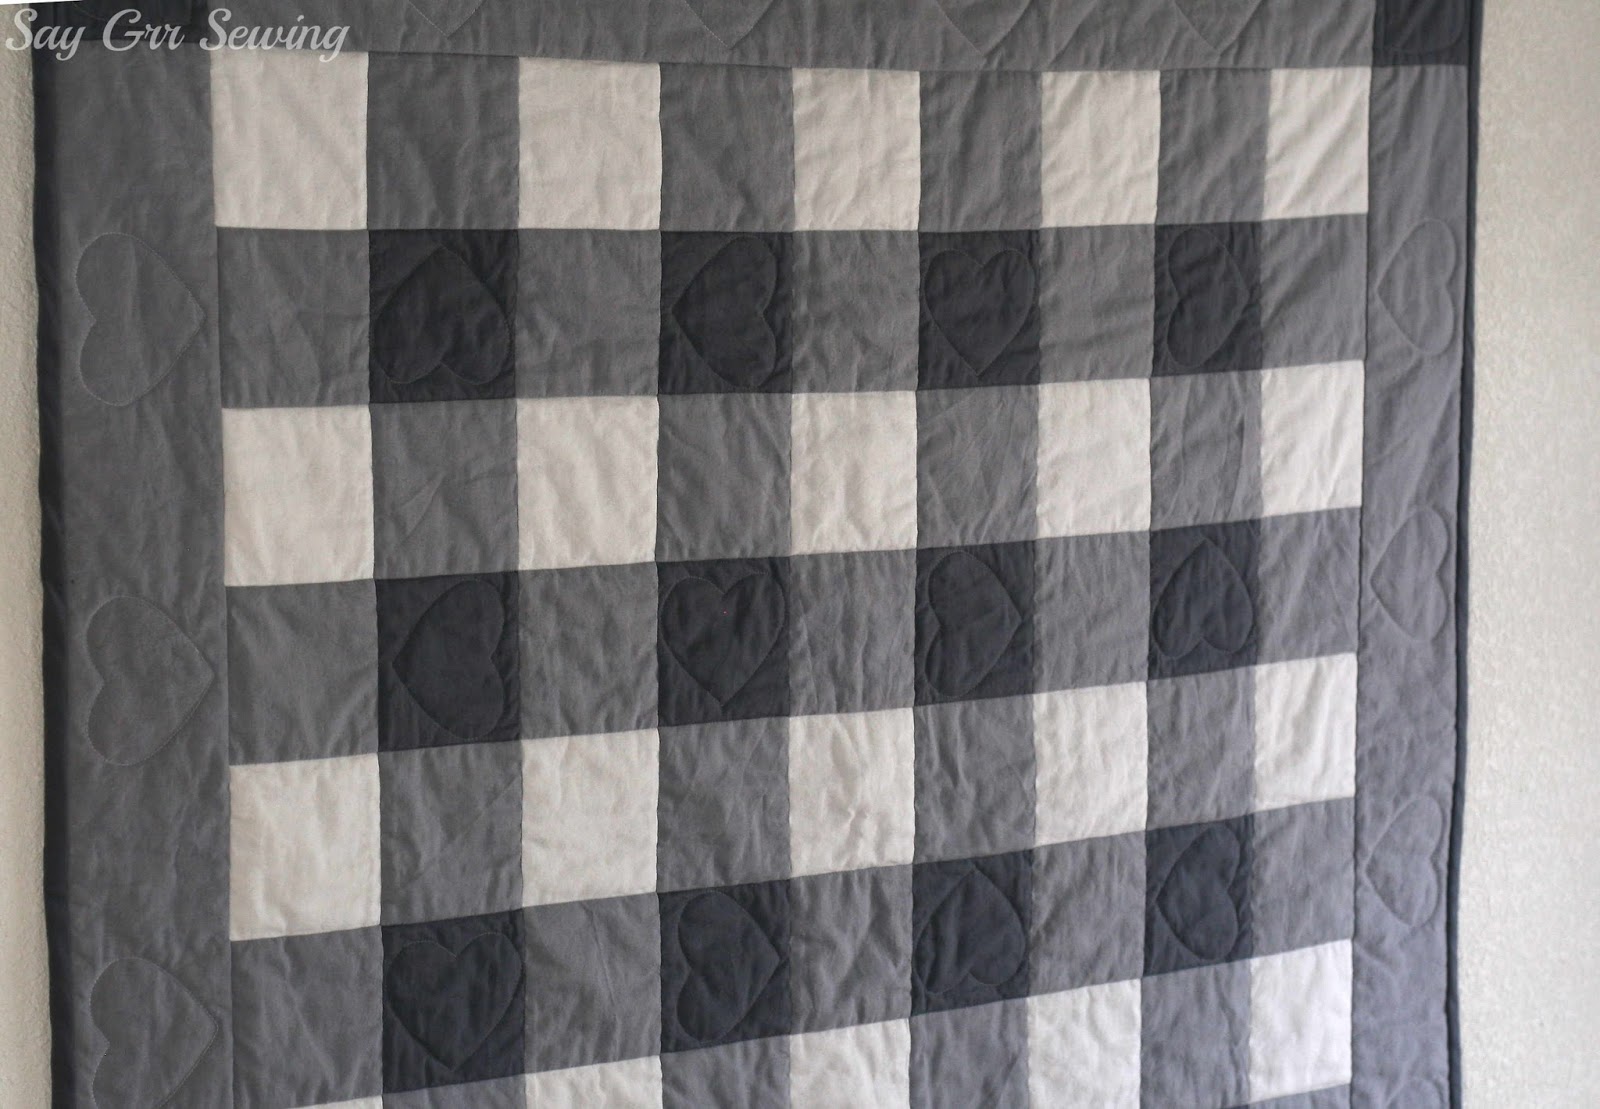
  I made the dress she is wearing in the photos, and will blog about it eventually, but for now I'm going to be spending a lot of time snuggling this little darling. =)

Thanks for stopping by,

Saturday, September 26, 2015

The Seventh Syrah

  Here's another item sewn for myself for after the baby arrives (which, nope, she's still not here!).

  It's another Syrah skirt (the first 6 I made can be found here) in a denim-look knit from Girl Charlee.

  I chose the panel seams option and the flat waistband for this one.

  It doesn't really fit right now- I made it the same size as my previous versions based on the fact that those fit well until I was about 6 months pregnant. So hopefully it will be perfect once this baby is born!

  This fabric is thick enough on it's own, so I didn't include a lining. As usual, the hem is lettuce-edged... I considered doing a twin-needle hem but decided against it.

  I used this fabric from Girl Charlee (bought for a fabulous price during the July 4th sale)- I like the thickness and the stretch, and the double-sided factor is interesting, although I didn't utilize it in this skirt. Sadly, the blue side of the fabric pilled in the pre-wash.

  I have more of it, and will be using it again, but the pilling was pretty disappointing!

  And that's really about all I have to say about this skirt! It's pretty basic, and hopefully will be worn a lot in the near future.

Thanks for stopping by,

Monday, September 21, 2015

Nursing Things

  So, no baby yet! But I do have a couple of things I've sewn to wear once she's made her appearance. Firstly, a nightgown:

  This was pretty simple- I lengthened and flared my basic tee pattern to below-the-knee length, created cutouts in the front, and added an overlay with an elastic casing that hits about an inch below my ribs.

  Unfortunately, I made a grave miscalculation.

  My tee pattern is drafted for at least 30% stretch, while this fabric has closer to 10%.

  That means that the nightgown is too tight across my bust, which means it's pretty useless for nursing! The sleeves, which were initially regular short sleeves, were so tight that I cropped them to almost-cap length.

  So, sadly, this one probably won't get worn much!

  I also made a nursing bra. I've made 3 or 4 test versions that were non-nursing and altered as I went to get something that fits much better than any of my ready-to-wear, but not as perfectly as I feel it could. I used the Shelley bra pattern in size 38E with quite a lot of changes. I converted the lower cup to be one piece instead of two, took out a wedge at the lower center front of the frame. took wedges out of the top back band pieces at the underarm, added to the band at the center back, and flattened the cross-cup seam dramatically, as it was very poky.

  I also added an inner powerbar (out of powermesh but only because I didn't have enough of the main fabric) that sits slightly lower than the outer powerbar, and connected that to the strap, while the main cup is only connected to a nursing clip.

  I used a custom-dyed kit that I wasn't particularly pleased with... I'd used a kit from the same shop before and the lace was much wider, perfect for this pattern, as well as having gorgeous embossed powernet. This one just had plain powernet and the lace was too narrow. I was planning on lining the top piece with the main fabric for sturdiness anyway, so that wasn't a huge deal, but it doesn't look quite as nice as it would with wider lace.

  I paid extra to get extra finish elastic, but didn't receive any extra. I made it work by shortening the fabric straps by a few inches. I also paid extra for 3/4" band elastic, rather than the usual 1/2" elastic. After I had all the pieces cut I realized that the band elastic was actually 1" wide. The pattern recommends trimming the elastic just under the cup and sewing it down under the channeling if it's too wide, so that's what I did. Unfortunately, the elastic is fraying out from under the channeling, and it's going to have to be replaced at some point. The wider elastic is also a bit less stretchy, so the band is a little too tight.

  This fabric has a bit more stretch than is recommended for this pattern, so I doubled the fabric layers to add stability, which also gave me the opportunity to finish the inside of the cup nicely on most of the seams.

  The end result is pretty decent! I didn't enjoy making it, but it will definitely get a lot of use.

  I have another of the same kit in grey, so I plan to make another of these but widen and lengthen the band and frame so I don't have to trim the elastic and so it isn't too tight, and hopefully that will be closer to what I want.

Thanks for stopping by,

Monday, September 14, 2015

Gingham Heart Baby Quilt

This quilt has been in the works for a while now!

  Sometime around April, I came across this adorable knit blanket pattern. I loved that it was sweet and detailed but would work equally well for a boy or girl baby. I thought about buying the pattern, but I'm a slow knitter, especially when it comes to blankets. (I have two blankets going that I've been working on for over 5 years each.....)

  So I did some thinking about how I could apply the same concept to sewing! After a while I remembered a gingham quilt that Jess from Craftiness is Not Optional made last year, and decided that would be perfect!

  I did a bunch of adding and subtracting and such to figure out all my sizes, then bought some fabric and set to work. I used Kona Cotton in White, Iron Grey, and Steel, all found at fabric.com.

  I've only made one quilt before this, when I was about 13.... it turned out pretty bad for several reasons: I didn't have the 'proper' tools and materials, I missed half of the classes that were supposed to teach me how to do it, and I was absolutely a beginning seamstress at the time. Anyway, since then my overall sewing has vastly improved, I have better equipment, and I had the internet to fall back on for advice, so this one turned out much, much better!

  In fact, I'd say for my second quilt ever it came out remarkably well! I managed to get all of my corners except one to line up properly on the first try, and I didn't get any puckers while quilting. The quilting is my favorite part of this! I stitched in the ditch first on all of the rows and columns... it isn't perfect, but it sure gave me a lot of practice!

  And of course, I added hearts. =) I actually just used my regular foot on my regular machine to sew them. I traced a heart shape on the squares where I wanted them with chalk and followed that line. It was pretty difficult to squeeze even this little quilt (It's only 38.5" square) through the 7" harp space on my machine, but I sewed very slowly and they turned out even for the most part. I knotted and buried the threads as shown here. I really love the way those hearts look!

  I used this fabric for the backing (and I have quite a bit of it left, since this quilt is small!) but it's not my favorite part of the quilt. If I were to make this again, I would use solid grey minky for the backing, because I love the way minky feels, and because the quilting would show up better on the back.

  As it is, even with white stitching it's difficult to see the quilting until you get pretty close.

  I used more of the Kona Cotton Steel to make the binding- I initially planned for a 1" binding, but I didn't realize until I was double-checking my calculations that the binding is supposed to be 'full', so in the end I went for a 1/2" binding... I machine sewed it to the front and hand-sewed it to the back.

  The squares finish at 3.5" and I used approximately a yard of each of my three front fabrics.

  I am really, really happy with how this quilt turned out! I just hope I love it as much after washing. I haven't done that yet- the wrinkling is just from stuffing it through my sewing machine! ;-)

  3 things left to photograph before baby arrives, and one to finish sewing! I'd better get back to work! =)

Thanks for stopping by,

Saturday, September 12, 2015

Purple Plaid

I actually made these dresses almost two weeks ago... but I was planning on making one for Beckers too and wanted to photograph them all together. Unfortunately, when I pulled the pieces out to cut hers I realized there just wasn't enough fabric left!

  The pattern is the Uptown Downtown Dress by Sew Straight And Gather (there's a women's version available now too.)

  I raised the front neckline 1 1/4 inches for both versions.

  For Booper, I made the size 6 with 8 inches added length- I probably could have just used the free maxi expansion, but I didn't want to print off and tape together a bunch more pages.

  For Gaiw, I went with size 3 and 7 inches added length.

  I should have let them hang before hemming, because the sides stretched quite a bit and are longer than the fronts and backs... there's a very small chance that I will go back and re-hem them. ;-)

  The fabric is, as usual, from Girl Charlee. And for a change, there's still some left!

  It's a pretty decent fabric, a little on the thin side and a tiny bit pilly, but overall not bad. The stretch is very nice!

  While I was careful to place the center fold of the pattern pieces on a white stripe, I didn't worry too much about lining the plaid up at the seams, because I was trying to conserve fabric. If only these girls didn't keep growing, I would have had enough for Beckers too! ;-) I do have enough for a baby-sized dress, but I'll probably just save the scraps for something else.

  The girls really love their new 'princess dresses'!

  At some point here I'm going to have to wrestle them away so I can wash them!

  But that is infinitely preferable to them being disliked, so we are good! =)

  I've got a bit of a backlog of un-blogged projects right now, but taking photos of them just hasn't happened yet. Hopefully I can get that done before this baby arrives- she is due in just over a week!

Thanks for stopping by,