

I followed the general method shown in the tutorial from Sew Much Ado, but came up with my own pattern pieces, sized to fit a two-year-old. I had the two corduroys on hand already, the tan leftover from Christmas dresses last year, and the brown from when I was trying to find a good match for the plaid of those same dresses. I decided to use a zipper I had on hand too, but I wish I'd bought a longer one as the opening is a bit on the small side this way:

I used some buttons I had on hand (I see a theme emerging) for the eyes:

For the nose, I used a scrap of black leather (also on hand...). I was worried about damaging the muzzle with a leather needle, so I just used the leather needle and no thread to pre-punch holes on the leather only, then hand-turned the wheel with a regular needle to sew into those holes.

I embroidered the mouth with six strands of black floss and a backstitch:

I didn't feel like I'd have time to hand-stitch the muzzle on, and wasn't sure it would be sturdy enough if I did anyway, so I did a 'cheater' stitch and used that as a guide for pressing the seam allowances under, then edge-stitched the muzzle onto my interfaced and flex-foamed main face portion. I was really happy with how well that worked!

I did the ears the same way, but didn't include flex foam in them because I didn't want them to end up bulky. I top-stitched around the outer edge of the ears before sewing them to the main backpack, to give them a bit more rigidity. I shaped the ears so the base has the same curve as the top of the head when upright, but sewing the opposing curves with the foam in the main was pretty difficult, and I ended up with a couple of puckers.

The fusible flex foam was easier to work with than I'd expected, once I figured out which needle to use to prevent skipped stitches, and my only issue with it is all the wrinkles in the backpack from turning it right side out. No amount of pressing removed them... possibly a wash and tumble dry would have, but I wasn't willing to risk making it worse! The flex foam was pretty expensive, but this backpack didn't use much- definitely less than a yard!

The straps though... those were a bugger to sew, with all the layers of corduroy and interfacing. The length of the straps went decently, but my machine just didn't want to deal with the bulk when attaching the sliders, and I broke several needles there:

The sliders were another on-hand item... I bought these years ago, intending to make a purse for myself, and never got around to it!

I didn't have rectangle rings to match, and couldn't find any in the right width or color when I was buying the fusible flex foam, so I used some o-rings instead:

These lower attachment points were also a pain to sew in this fabric. I might try hammering them next time to see if it helps cut down on the bulk at all.

The whole back:

I used some fabric leftover from backing this quilt as the lining, and sewed in a tag. I didn't really like how the lining hung down from the zipper inside... I think some piping or interfacing on the inside to give it structure would have helped.

Once it was all done I had to try it on my own toddler!
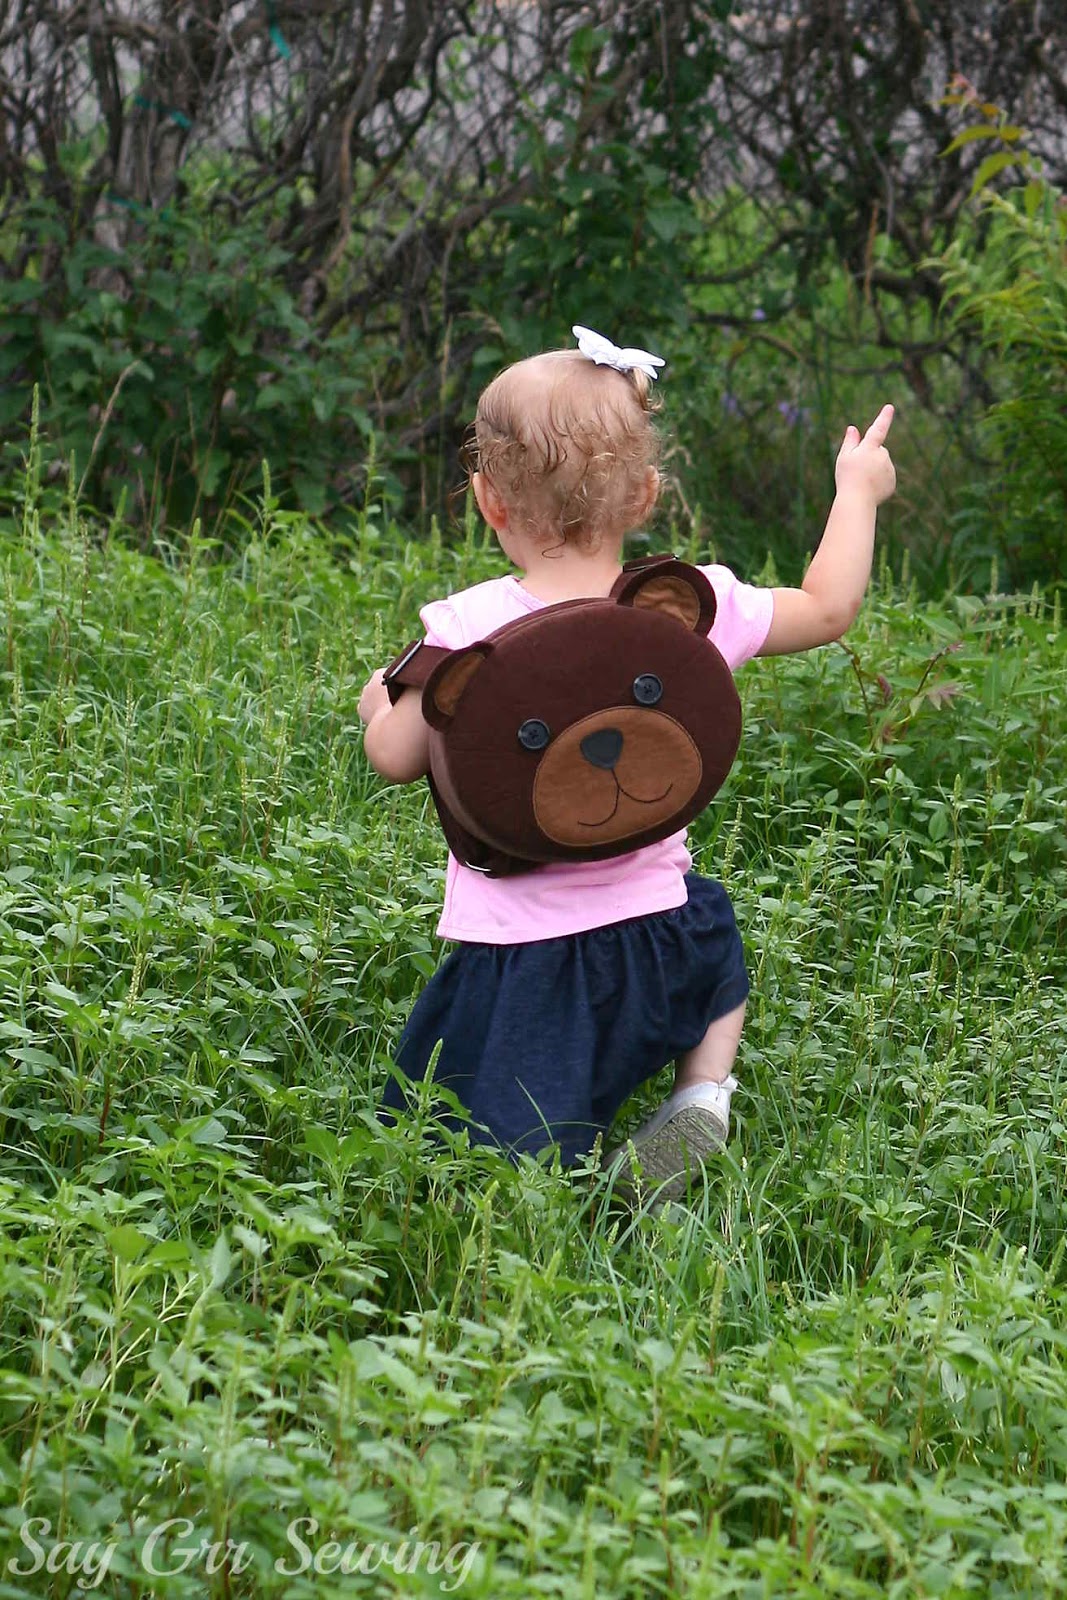
I think I would bring the straps closer together at the top next time, but my nephew has slightly broader shoulders than Foof so it worked a bit better for him, and hopefully will grow with him a bit.

Foof was reluctant to take it off- I think my little adventurer could use her own backpack. ;-)

Isn't that adorable though?! I'm so happy with how this turned out!

Thanks for stopping by,

It's beautiful! I'm really impressed with it. Your nephew will love it!
ReplyDeleteThank you! In spite of the bulk, this was really fun to sew... particularly all the facial features!
DeleteThat is insanely adorable!!! I made a backpack for my sister once, and had all the same bulky needle-breaking issues. I don't know how other people do it!!
ReplyDeleteThank you! I also want to try a jeans needle- I didn't have one of those available to try, but I think it might have helped.
DeleteOMG, that's so cute I can't even stand it!!!
ReplyDeleteThank you! ♥
DeleteIs there a pattern available?
ReplyDeleteI'm sorry, there isn't! Thank you for your interest! 💕
Delete