Friday, November 22, 2013

A Pair Of Pink Plaid Penny Purses

  There I go with the alliteration again... I'm going to have to make a red and off-white coin purse just so I can call it a 'Cream and Crimson Coin Carrier'. =)

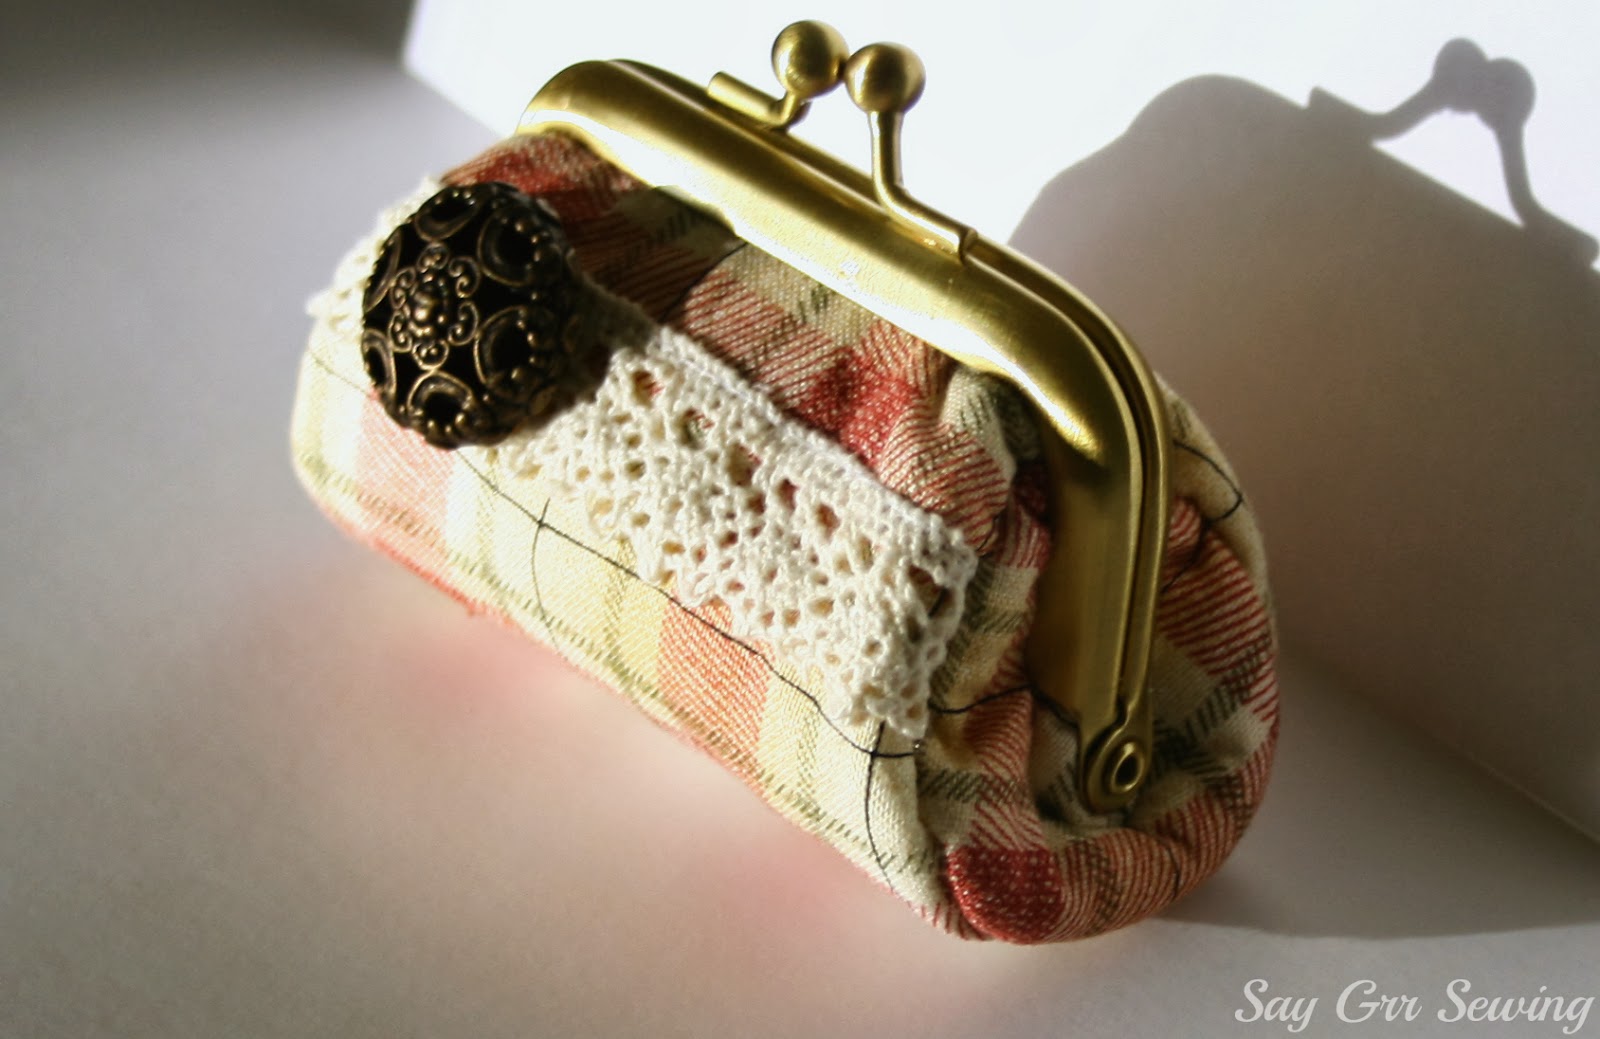
  Anyway, these are my most recent endeavors into the purse making world:

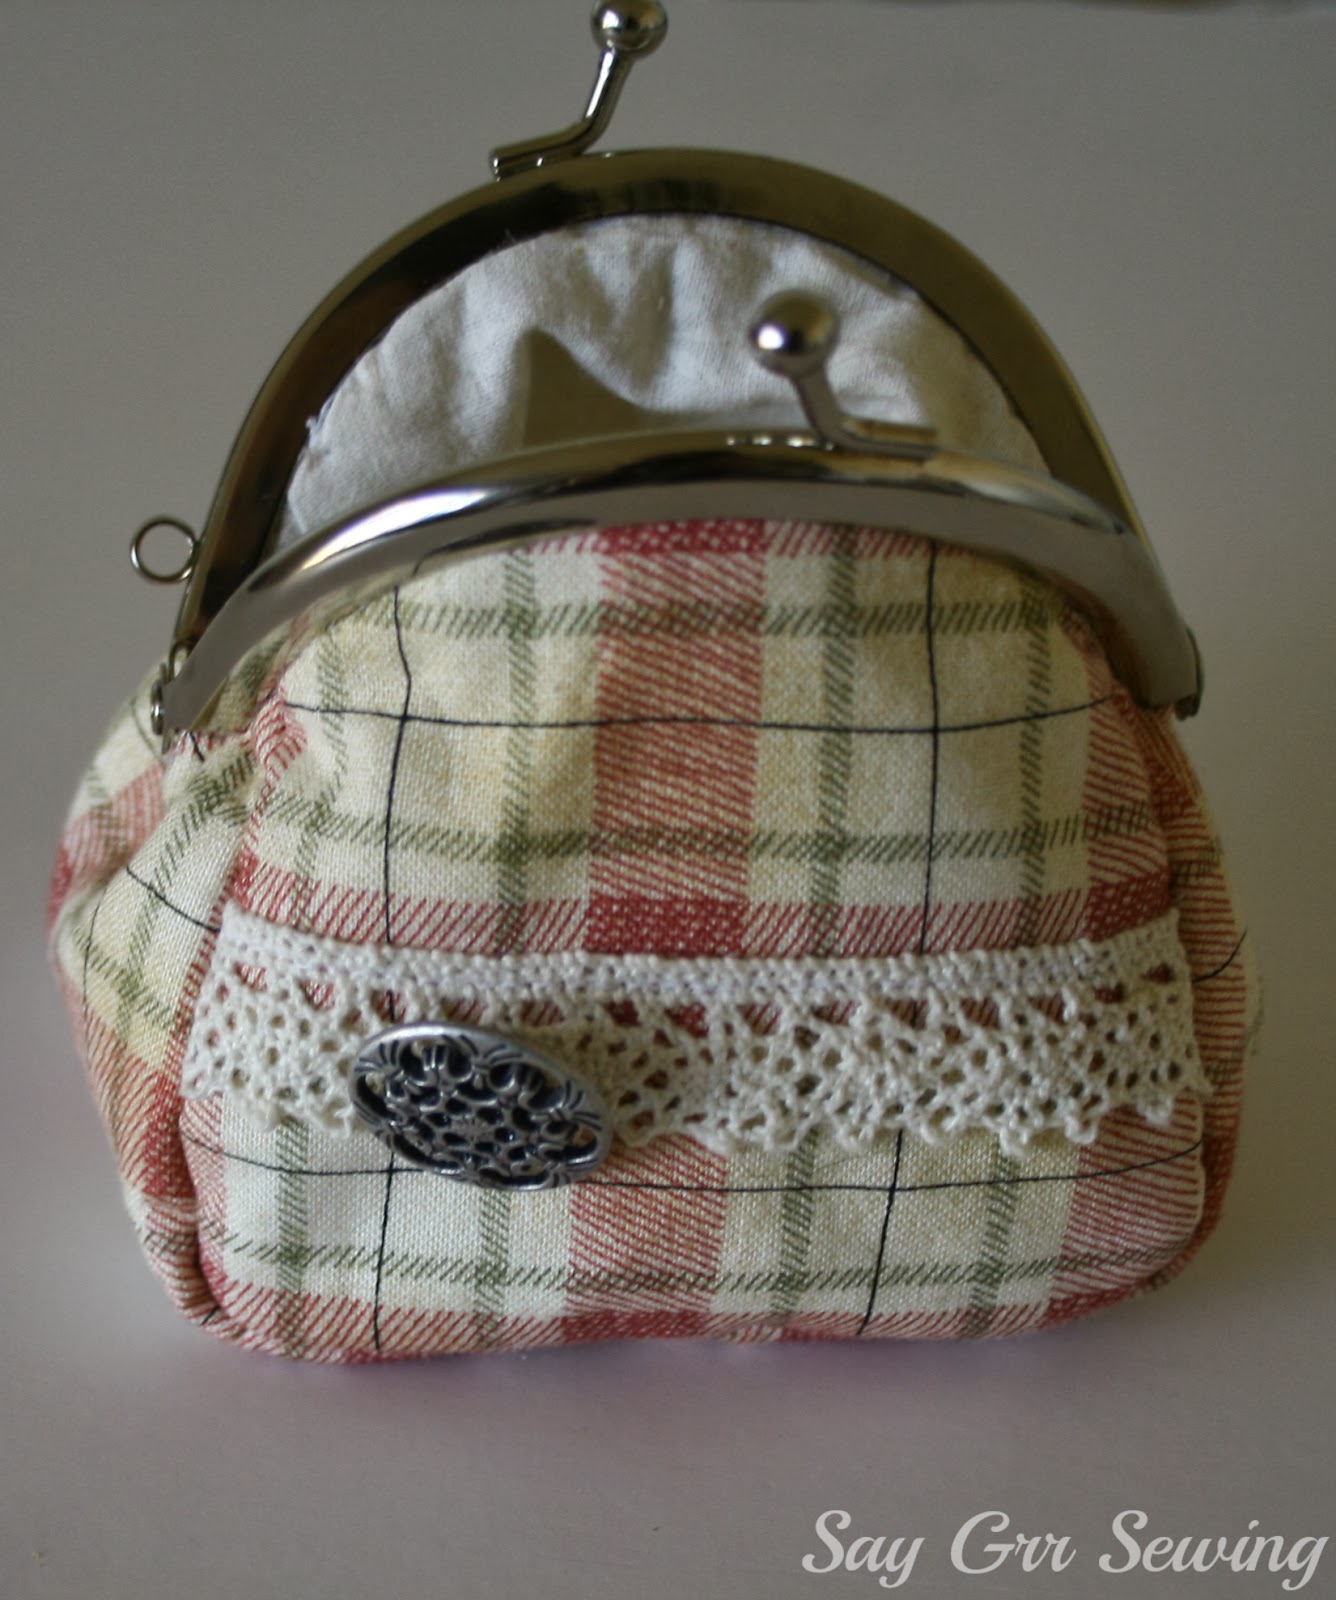
  The larger one is the same pattern as the purple one I made recently, but altered slightly so it fits better into the frame, and with fusible fleece added. I definitely prefer the structure better with the fleece, and it bulks up the top seam so it fills out the frame better.
 
  The small purse is another pattern I made... basically a circle with a wedge cut out for the ends, and a rectangle with a rounded top for the two sides. It's tiny! And I'm keeping it for my own personal use, because I always end up with way too much loose change in my purse, weighing it down. Having a super-small coin purse will keep me from doing that. =)

    This one is so small that the weight of the frame makes it roll over when it's empty and closed... but once I put a few coins in there it stopped rolling.

  Both purses are made with pink plaid fabric from a fat quarter I bought a long time ago from a quilt shop and used just a tiny bit of. I still have enough fabric left for one more coin purse, I think... I love this fabric.

  They are lined with some lightly patterned cream fabric, trimmed with cream cotton lace from Hobby Lobby (it comes on a roll in the sewing/ribbon section), and decorated with buttons from Joann's. I bought these buttons several months ago in an attempt to bulk up my feeble button collection, and I'm really glad I did. =)

  The frames are from the bagpurseframes Etsy shop. I bought several frames at once, so I had them on hand and didn't have to wait for the long shipping this time.

  The sewing for the larger purse was much easier this time around, and I finished it in only a few hours, in spite of constant interruptions for things like hungry children/husband, messy diapers, and pinched fingers.

  The little one though... it was incredibly difficult to sew, because of its diminutive size. I had to adjust everything every couple stitches to keep from getting sewing in the wrong spots. It was especially difficult to stitch the lining and outer layers together, and to topstitch the opening.
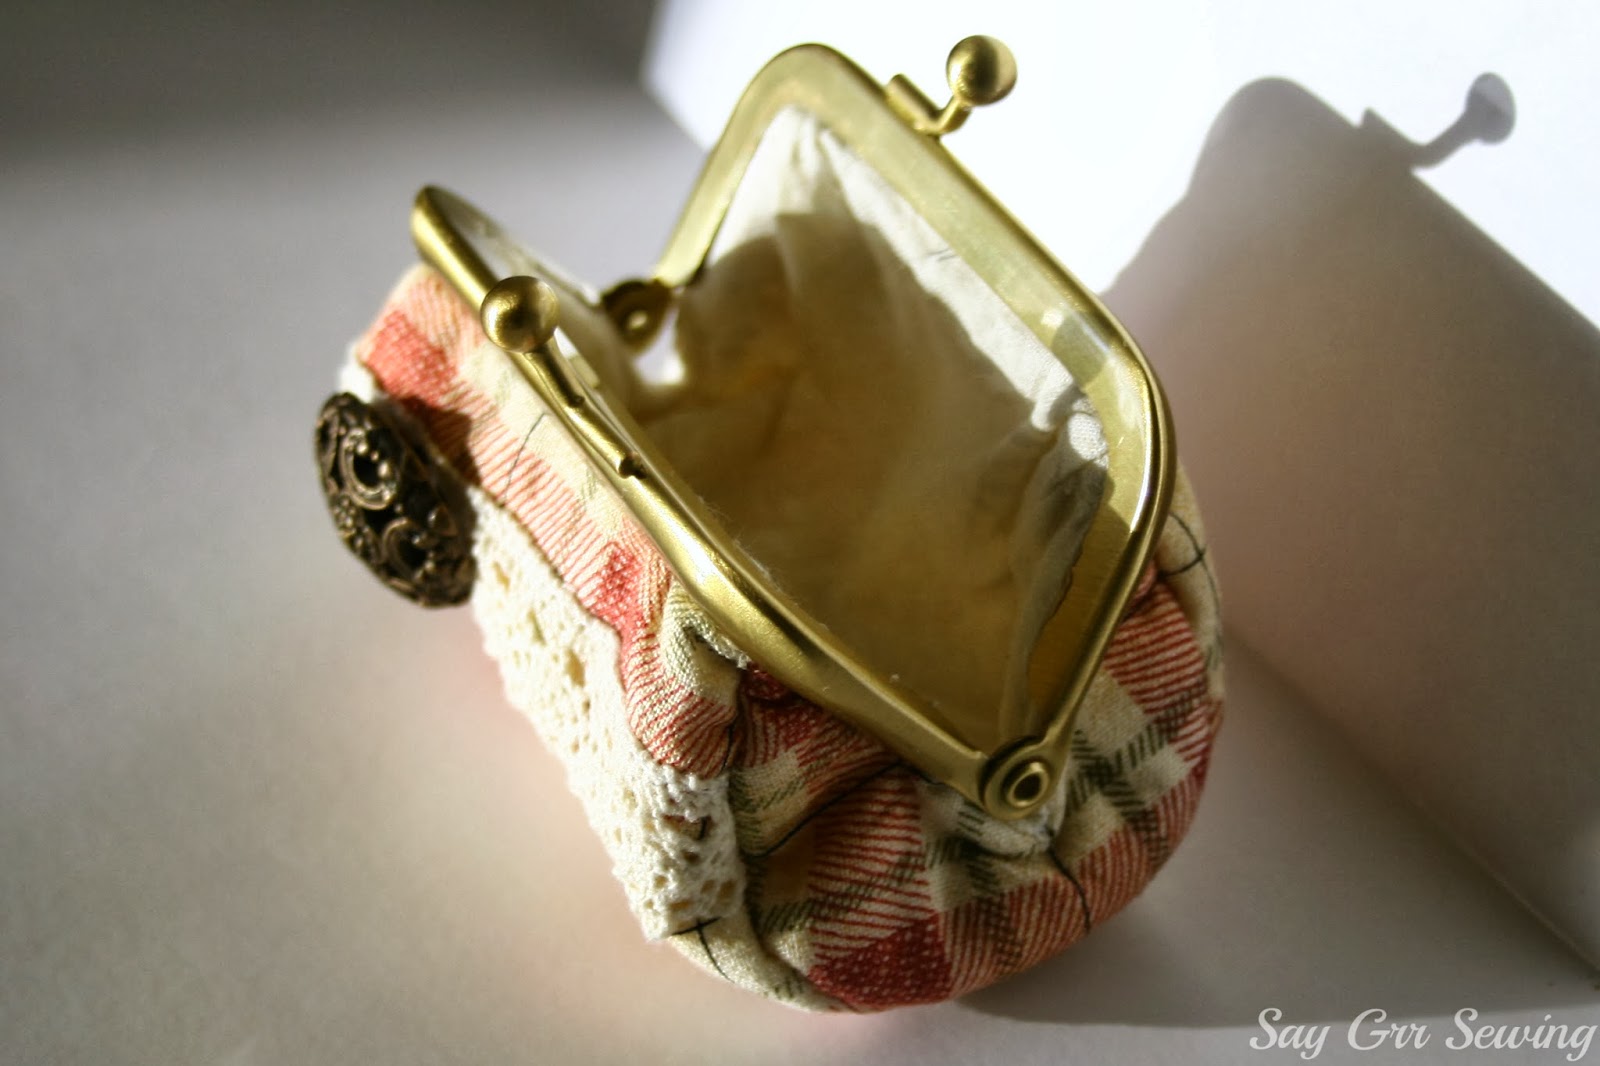
  To give you a better idea of the size, here is a ruler in front of the purses:

  I'm going to have to make one of these for each daughter, as they could not keep from exclaiming over the 'little purses' and trying to 'borrow' them. (Beckers was not involved in this process.) =)

  I've scanned my pattern in for the larger purse and cleaned it up a bit (then re-sized and printed it about 7 times to get it to print right), and should have it up tomorrow with some instructions. =)

Thanks for stopping by!


Monday, November 18, 2013

Quick Refashioned Denim Skirt

I've made a few things in the past week, but I think this skirt will get the most use of all of them:

  When I was pregnant with Booper, I sewed a maternity skirt that was really similar to my circled skirt. I wore it throughout that pregnancy, and until I shrank out of it afterward, and again for both of my other pregnancies. Over time, it developed a few small holes, which I took the time to mend because I really loved it. Sadly, it developed a giant, un-mendable gash a few weeks ago. Most of the fabric was beat up and faded, but the flounce was still in decent shape, so I cut it off for future use.

  This skirt is 2/3 of that flounce, gathered onto a wide piece of elastic. I thought that using the elastic as a waistband would be pretty simple, but I actually prefer a casing. Straight-up attaching the elastic requires careful attention to stretching it equally in front of and behind the presser foot... and if you let go with either hand to adjust the fabric you have to stop sewing or the fabric will 'jump' forward or backward. Which means my stitching line is rather imperfect.... which means that I prefer casings. =)

 Being most of a circle, it is quite twirly:

  I unpicked the hem near the back seam before sewing it, serged it to finish the edges, and then re-hemmed just that spot. I prefer doing it that way so the ends of my serging are hidden in a seam.

  It's a very simple skirt, but it will get a lot of use. Oh, and this one wanted her photo taken as well:


Thanks for stopping by!

Monday, November 11, 2013

Princess Seam Nursing Dress

On Saturday, I finally finished a dress for me!

  Technically, this is a wearable muslin... I was pretty sure it would work, since it was drafted from my sheath dress sloper, so I went ahead and used fabric I like. Next time around I want to adjust the back shoulder seam higher, and the princess seam in the front a bit lower, but overall I'm quite pleased.
   This dress has princess seams in the front and back, a full hem faced with bias binding,

a keyhole and corseting in the back,

   crocheted trim at the hem, sleeves, and front neckline,

  and thread chains at the waist seams for belt loops, and for a button loop. ( I had no idea how easy those were! I thought they were some complicated sewing knot... but it's just crocheting!) They don't quite match, but this white thread was better than any of my other choices.

   It also has a very functional detail... zippers in the front seams for nursing access:

  I've never seen anything like this before, so I had no idea how well it would work, but it does it's job quite well.

  There is a tiny bit of puckering at the deepest part of the curve due to the stiffness of the zipper tape, but it's not too bad. I chose to put the zippers in upside-down, because I felt that the pulls would be less noticeable below the waist than they would be at the armscye.

   The keyhole in the back made me cry. I didn't want one there to begin with, but I needed an opening to get it over my head, didn't want another zipper, and thought this would look better than a slit and be easier than a placket. I had a perfectly-sewn, tiny keyhole there, but I decided to wash the dress before photographing it since I had some markings on it. In the washing machine, the neckline ripped a whole inch down from the keyhole! I'm guessing I clipped the neckline just a little too close for this fray-prone fabric. I'd added plenty of fray-check before trimming, but it didn't help. Anyway, the only way to fix it without being too obvious was to sew it again larger. I had to add a new piece to the facing and topstitch it, and it just isn't nearly as pretty as it was, though not as crooked in real life as it is in this photo. I'm just glad I was able to fix it at all though, since to replace the back piece would have meant redoing the corseting.

  The grommets were the other truly difficult thing.... installing them wasn't bad at all, but cutting tiny holes through four layers of very thick fabric with somewhat dull scissors took a terribly long time. My thumb hurt all day after that:

  I made room for the corseting by adding 1.5" to each side of the back princess seams at the waist, tapering to nothing at the hip and bust lines.

 The grommets start 1.25" inches below the bust line and above the hip line, to be certain there was room for them in the seam.

  All in all, I love this dress. It's comfortable, and though it may look a bit too costume-y for some, I really don't care. I love this silhouette.

  I'm looking forward to another iteration of this, or maybe a few. =)

  Next on the list is another coin purse... I have the pieces cut out and just need to fuse, sew, and glue it all together. =)

  And just because she's adorable, here is a photo of my little 3-month old, who is growing more quickly than I thought possible:

Thanks for stopping by,

Monday, October 28, 2013

A Perfectly Purple Penny Purse

  So many of my sewing endeavors have gone so wrong lately (I haven't blogged about most of them) that I was quite pleasantly surprised when this one turned out as well as it did:

  I bought several little coin purse frames from this Etsy shop (if you order from her, be aware that items will take over a month to arrive) and this is the first coin purse that I've sewn using them.

  It isn't perfect... the gusset is sewn on a bit crooked, so it doesn't sit straight, and the entire opening is a teensy bit small for the frame, so the back isn't seated in the frame as tightly as it should be, but I still love it.

   The fabric is some that my Tia Eva gave me... small scraps from the quilt I shared in this post.  The ric-rac and eyelet came from my Grandma Judy, and the button is one of several given to me by a young girl whose dress I altered a few weeks ago. The only thing I bought for this was the frame- the interfacing and glue I already owned. I love having a bit of so many gifts in this purse. =)

  I followed Bethany's tutorial on how to assemble the coin purse, except that I used my own pattern and didn't use any fusible fleece, as I didn't have any. I think it would have turned out better with the fleece though, and I do need to adjust my pattern just a tiny bit.

  I will definitely be making more variations of this... hopefully soon. 

  Here's what else I've been working on: I altered my skirt pattern to a yoked, a-line skirt with a front pleat, and finished a denim skirt with the fabric that my mother-in-love gave me. Unfortunately, I didn't think to stay-stitch the yoke before sewing it on and it and the skirt both stretched and have some horrid bubbles at their juncture. I think that if I just leave my tops un-tucked it will still be wearable, though the zipper does pinch a bit, so it isn't too miserable a fail. Also, I want to deepen the yoke before sewing up the pattern again.

  I also drafted a sheath dress pattern for myself, made a muslin of it, and altered the pattern for a full-skirted princess seam dress, which was the goal to begin with. I haven't tested the princess seam version yet, but I hope to do so soon.  It's a lot of drafting I've been doing! I finished off my entire roll of freezer paper and still haven't traced out the finished patterns.

  Now I must be off to take care of tiny people.
Thanks for stopping by,

Saturday, October 12, 2013

Baby-Love Shirt

  My sister-in-law (the same one whose twins I made these overalls for) is pregnant with her third baby! It's early enough in the pregnancy that they don't know the gender yet, but I wanted to make something for her anyway. So I made her a maternity tee:

  I traced around an adult sized small tee, then added width and length to the front to make it fit a pregnant belly. I also lengthened the sleeves to 3/4 length. I gathered the sides of the front piece to match the back with some clear elastic before sewing them together.

    I lettuce-edged the sleeves and hem of the shirt... I was planning on hemming them with a twin needle, but at the last minute I decided a little more femininity couldn't hurt. =)

  On the belly, I added a pretty heart with printable transfer paper.
  The heart image is a sticker from the 'blend' section of iPiccy, my favorite free photo editing site.

  It was really nice to sew something simple after all the time I've spent drafting lately. The neck binding is a little puckery, but other than that it came together surprisingly smoothly.

  I hope she likes it! (And I hope that it fits. =)
 
Thanks for stopping by,

Thursday, October 10, 2013

Sewing Disappointments

  Can you believe that it's been almost a month since my last post? I have been sewing... but things just aren't turning out the way I want them to. For example: I spent several days perfecting my skirt sloper and once it was finished, I made a skirt out of it. Unfortunately, I forgot to a-line the skirt, and I just don't look good in straight skirts. On top of that, the fabric I used has a touch of stretch, and the invisible zipper in the side seam was just stiff enough that it poked the fabric out really oddly at the hip. I don't even have any photos of that skirt, because I am so disappointed with it.

 Next I spent a week drafting and fitting my bodice sloper... which still is imperfect, but is much better than my previous attempts, especially the sleeves. I sewed a dress up from the sloper, and once the bodice was half-way finished, I thought I was going to love it. But I don't. I feel like a nun in it.
 And oddly enough, even though the sloper fit beautifully, and the dress bodice looks well in real life, there is some pulling in the photos. The thing I hate is the skirt. It's just bunchy and puffy in all the wrong places, and terribly unflattering. I wanted to put in a circle-skirt, for a 50's look, but I just didn't have enough fabric. As it turns out, pleats in this cheap, stiff, fabric really don't work.

  It's shorter than my dresses usually are, because again, I was going for a 50's look, but it should have been even shorter to look right.

 The collar.... it's okay. I would have preferred it to be a bit taller, and maybe open in the front, but I don't hate it. And at least I know that the length of the sleeves works, though some cuffs would have been nice.

 All in all though, it makes me look a lot shorter and even chunkier than I actually am.

  At least my husband likes it. =) Here's what I'd change, if I were to sew this dress again: Add just a bit more wearing ease, lengthen the bodice a bit, leave the collar front open and make it taller, add cuffs to the sleeves, use either a paneled skirt or a circle skirt, and use a fabric with better drape. At least I learned something, right?


  I don't normally wear heels, but again... 50's. I actually didn't even own any heels, but I wanted some just for photos, so I picked some up at the thrift store. And no, I didn't luck out and find some that perfectly matched the snaps on my dress. They originally looked like this:
  Which is a pretty color but obviously doesn't work with a black-and-seafoam dress. I attacked them with some acrylic paints and they turned out like this:

  It's easy to tell they were painted if you get close, but honestly nobody looks that closely at my feet , and I don't plan to wear these again anyway. I'll probably pass them along to someone who does wear heels.

  The rough thing about all the sewing flops is that I really don't have much time to sew right now, and I really need new clothing. I'm just hoping the next thing I sew comes out better... my sweet mother-in-love gave me some denim as an early birthday present, and I want to make a skirt with it.

  Have any of you ever had a streak of bad luck/judgement/taste when it comes to sewing?

Thanks for stopping by,


PS... I have a Facebook page now! It's facebook.com/saygrrsewing if you'd like to check it out.

Sunday, September 15, 2013

Three-Eighths Circle Skirt

 The week after Beckers was born, my sweet sister-in-law Rabi (nickname) came to stay with us and help out for a while. At some point while she was here, we came across a pretty skirt on Pinterest. As kind of a 'thank-you' for helping us out, I made a similar one for Rabi.

  I intended to make this skirt fuller, like the original, but since I was using a twin sized sheet, there just wasn't enough fabric. I started out trying for 3/4 circle, cut it down to 1/2 circle, and finally ended up with 3/8 circle. Luckily, it turns out that Rabi prefers slightly less full skirts anyway. =)

I added belt loops and a sash, and it closes with an invisible zipper. I also slipped in something else... can you see it peeking from the side seam above? Inseam pockets! This was my first time sewing those... I knew they would be easy, but they were even simpler than I expected.

  Those pockets hide really well... I had to do quite a bit of finagling to get them to show enough for a photo. =) The waistband is stitched down in the ditch... something I am truly terrible at, but that turned out decently with my stitch-in-the-ditch foot. I used a hem facing, and the side seams and pockets are finished with the serger. I discovered that my serger will NOT serge through zipper tape, after sewing the zipper in perfectly, and had to rip it out, serge, then re-sew.
 
  It turned out a little tight, always a risk when I don't do the measuring myself, but not so tight that it will go unworn. And I am pleased to report that Rabi really likes it. =)

  In the works right now is a skirt sloper for myself... while I've drafted many skirts for myself, I've never sewn one with darts. I'm hoping to get it finished soon, but with so little creative time it's taking a while.

  Thanks for stopping by,