
You start off with the garment or item that you want to applique, some lightweight fusible interfacing, and the fabric that you want to show through.
Draw your shape(s) on the adhesive side of your interfacing, usually the side with the little bumps. If you have multiple shapes, it's best to leave at least 1/2 inch between them.

Pin the interfacing to the right side of your garment wherever you want the applique, again with the adhesive side up.

Sew on the lines you drew:

Then trim around each shape, leaving about 1/2 inch on all sides... you can use as little as 1/4 inch, but it is a lot more fiddly. Also, cut through the interfacing and garment layers inside the shapes, cutting to about 1/8 inch on the inside of each line.

Turn the interfacing through each hole to the inside of the garment and fuse it down. That is why you started adhesive side up... once you turn it, the adhesive will be touching the back of the fabric, and will help stabilize the hole as well as covering the raw edges.
Now you have a nice, crisp cutout, no raw edges:

Cut a piece of backing fabric slightly bigger than your cutout:

And finish the edges however you please, I used my tiny serger.
Pin your backing fabric piece under your cutouts:

Sew it down close to the edge of the cutouts:

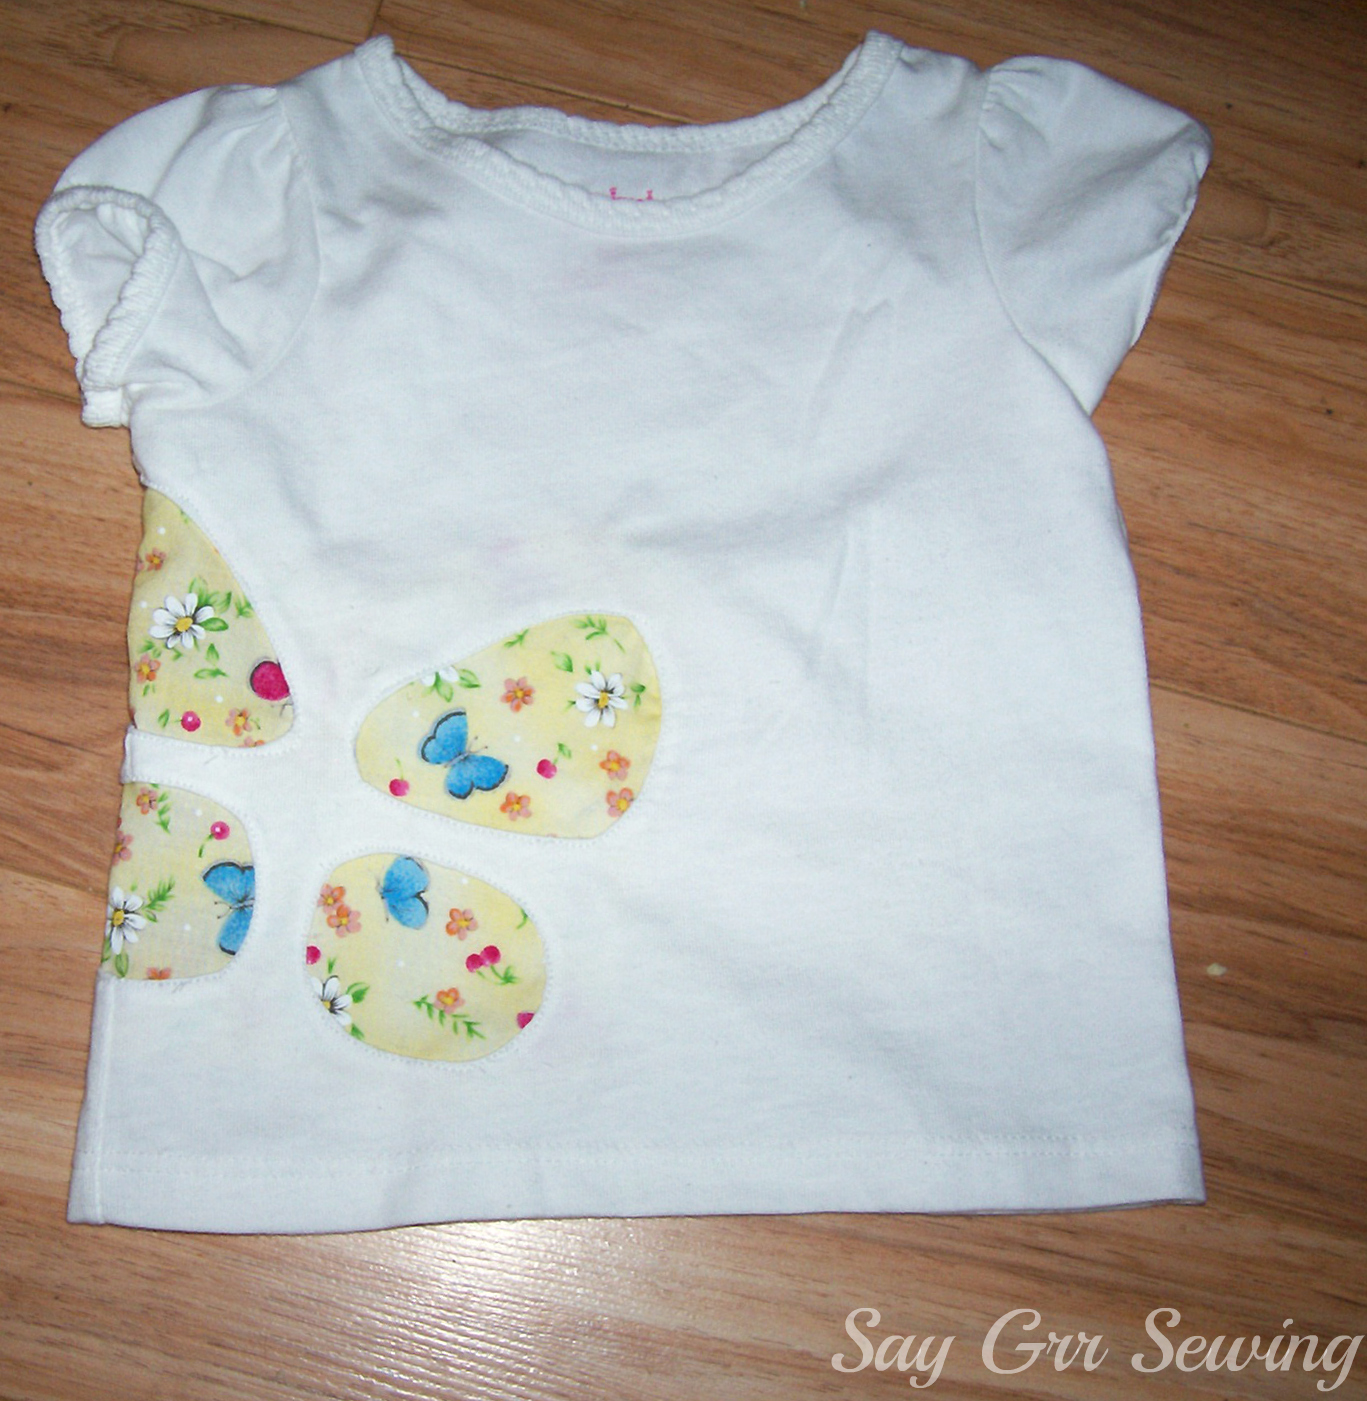
And you are done! Or you can do what I did and hand-embroider around your shapes for a little bit extra fun. =)


If your interfacing has a sticky back this method isn't going to work so well, but you could just use a scrap of fabric instead of the interfacing, and sew it down rather than fusing it. You would still have some raw edges that way, but at least they would be on the inside of the garment.
Anyway, here it is on the little Gaiw, with the skort I showed you here:

Thanks for stopping by!

No comments:
Post a Comment