Saturday, February 28, 2015

Navy Snowflake Georgia Vintage Dress

I'm finally writing about the last Christmas 2014 gift I made! Finally! =)
This one was for Beckers.

  I used the same gorgeous snowflake fabric as I used in Booper's shirt and Gaiw's dress, and sewed up the Georgia Vintage Dress Pattern, with a few modifications.

  First, I added elbow-length puff sleeves, which Beckers immediately pushed up to short length once the dress was put on. ;-) As usual, I used this method to sew them in so all raw edges were enclosed. The lower portion is gathered with elastic thread.

  I also enclosed the bodice/skirt seam in the lining... the pattern has all of the layers sewn together and pressed toward the bodice. Due to the opening in the back of the bodice, and none in the skirt, this entailed another change.

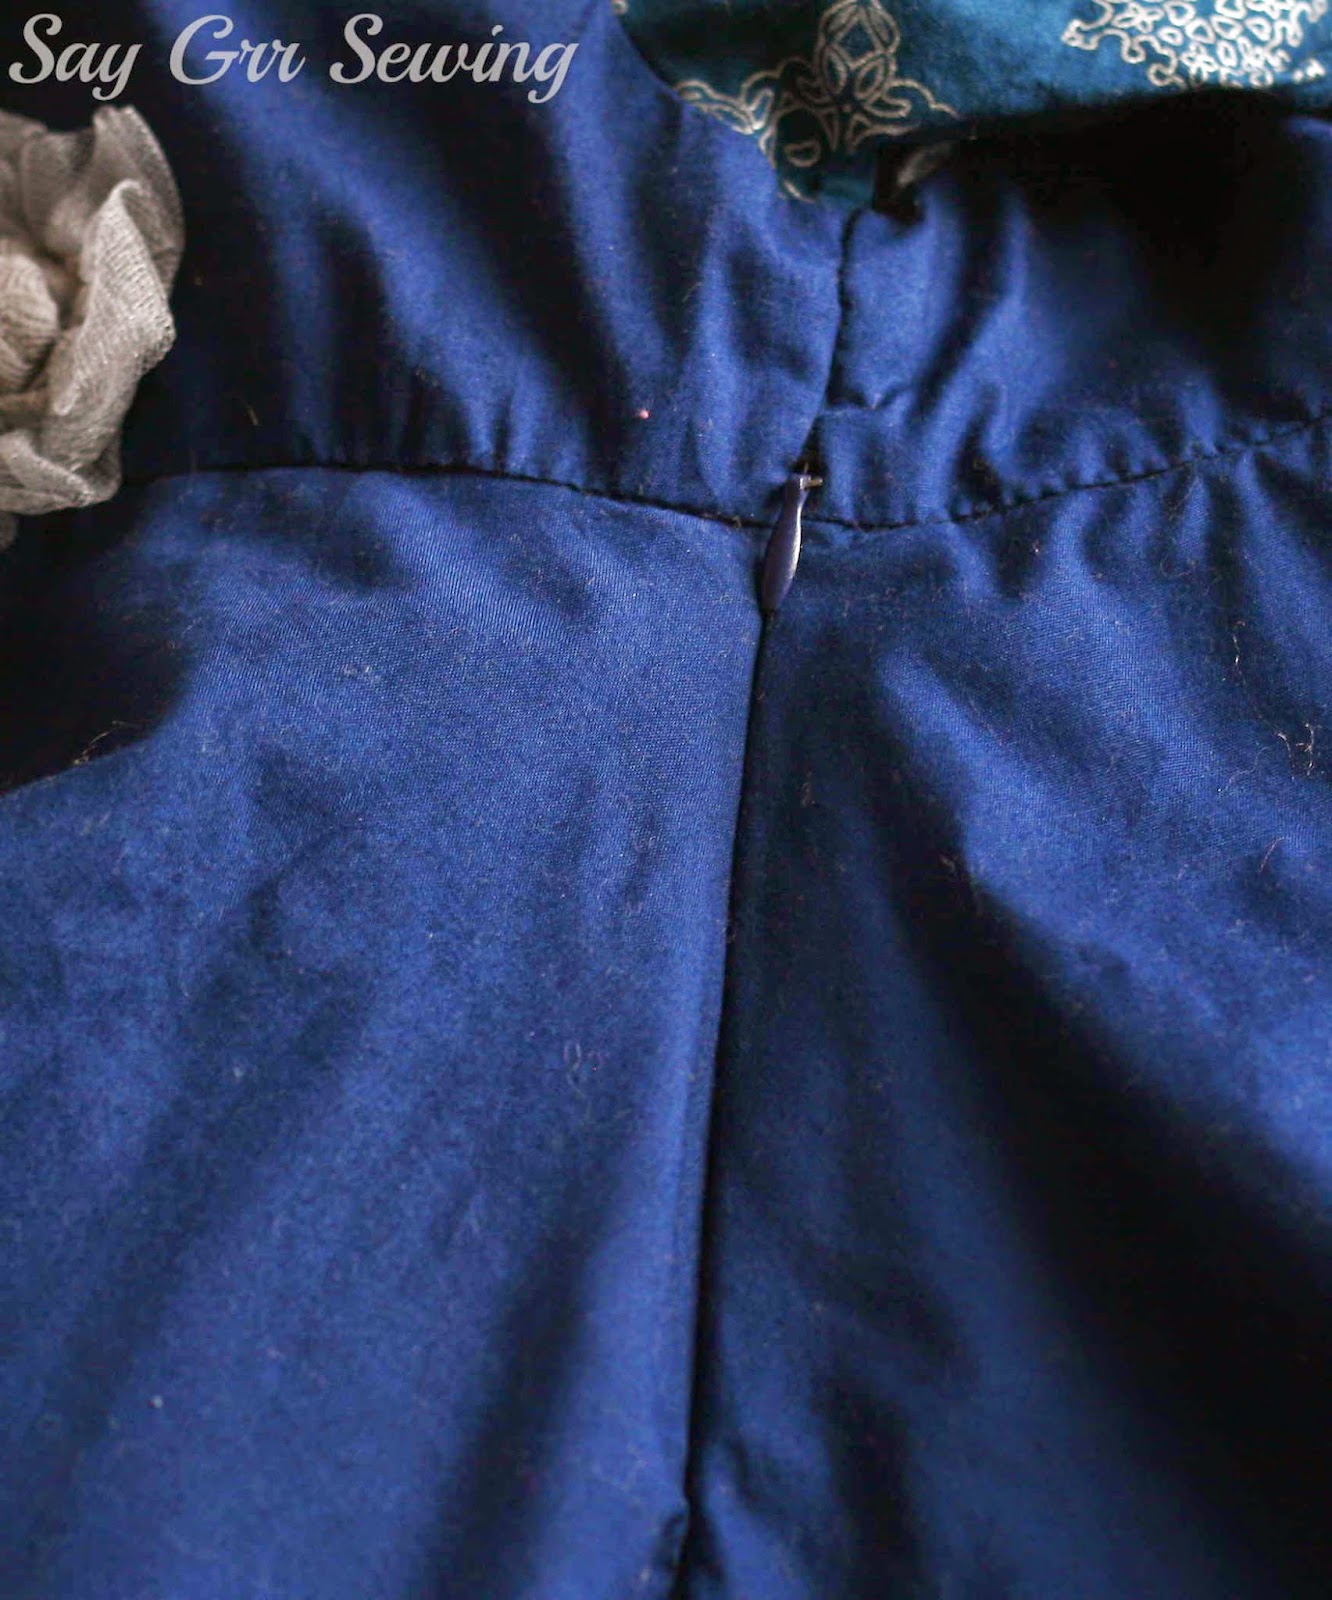
  I added a small and simple slit opening to the back of the skirt by placing the interior skirt right side up on top of the exterior skirt, which was also right side up. I drew line perpendicular to the waist, stitched 1/8" from the line on 3 sides, and cut down the line and into the corners of the rectangle. I flipped the interior skirt to the interior, pressed it, and top-stitched 1/4" from the opening on all sides. This left me with a neatly finished opening. (Although apparently I could have clipped and pressed the bottom edge a bit better.)

  This is what it looks like between the skirt layers- no raw edges:

  Another change I made was to hem the upper layer of the skirt with bias tape rather than a double fold, but that was for aesthetic purposes only.

  I really loved the way this pattern turned out, but there were a few moments that had me scratching my head. The bib is only top-stitched to the bodice, and so is the front of the sash, after which the bodice under the sash is trimmed away. I opted to fold the front of the sash up and stitch in the fold instead of top-stitching, because to me it looks more like a separate piece that way.

  The pattern has notches, but they appear to have been added later, as they are not referenced in the pattern instructions. Also, the notches on the collar do not match the notches on the neckline. Had I matched the notches, there would have been a 1" gap at the front neckline. As it is, there is a 1" gap at the back bodice, but to me that works better with the buttons than the collar meeting there. The notches on the sash don't match the notches on the sides of the bodice. Instead, they match the top of the front sash.

  Other than the useless notches, everything fit together the way it should.

  Beckers is a size 12 months in the chest, but a size 18 months in the waist and height, so I made a straight 18 months. It's a bit looser than I expected in the waist... I could have gone with 12 months width and 18 months length.

  I wouldn't recommend the pattern if you are new to sewing, but I liked the results enough that I'm working on another one right now.

  I mean, who could resist that cuteness? =) The back is closed with silver heart KAM snaps.

  And now, some pictures of all three girls together in their coordinating outfits. =)


  And we are done with Christmas posts for at least 9 months! =)

Thanks for stopping by,

Monday, February 16, 2015

Free Flutter Skirt Pattern

  I've been working on something fun for about a month now... a free little girls' skirt pattern!
Ashley and Emily from FrancesSuzanne asked me if I'd like to contribute to this month's Flip This Pattern. This month, instead of one pattern that everyone alters, each participant sews up something using any free pattern... if you've done so this year, you can link yours here for an opportunity to win a prize. =)

  Anyway, I've had this skirt idea in my head for about 6 months now, and though I've decided I'm not skilled enough at drafting to make patterns to sell just yet, this one was just simple enough to make and offer as a freebie.

   I've made it in sizes 3-12, though I've only sewn size 6.

  This is a long, reversible, half-circle skirt, with a scalloped hem and elastic waist.

  I've put each size into a separate layer so you can print only the sizes you want. The instructions are in a separate file, but they are also printable.

  The waistband is a separate piece, which adds a bit of fun contrast if you decide to make it in a different fabric than the main skirt.

  Because of the length and elastic waistband, if you are in doubt as to which size to make, I recommend sizing down.

  Wouldn't this be pretty in formal fabrics?

  My version is made from a pretty floral sheet I picked up somewhere (I think at a yard-sale) and plain grey quilting cotton.

  Needless to say, Booper loves it. Gaiw has been asking me to make her one too, so I guess I'll be testing out the size 3 soon. =)

  The pattern is available for download HERE. No hoops to jump through, just download and enjoy. =) If you want to link to the pattern, please link to this post, and not the actual file. Please do not copy or distribute the pattern.

  And! Don't forget to check out the rest of today's contributors at FrancesSuzanne! There have been quite a lot of lovely free patterns linked up so far. =)

Thanks for stopping by, and I hope you enjoy the free pattern! =)

Sunday, February 8, 2015

Navy Snowflake Secret Garden Dress

This is the dress I made Gaiw for Christmas in 2014. =)

  I used the Secret Garden Dress pattern, because that bow flounce in the back is just gorgeous. Actually, I was originally considering using this pattern for all 3 girls, but in the end decided to make them all different.

  I started out with a size 3, but as I was looking at the pattern pieces, I realized how short everything looked, so I lengthened just the underskirt to a size 4. I'm glad I did... it's still shorter than I expected.

  I added elbow-length puff sleeves to make it a bit more wintry... they are scrunched up a bit in these photos. I didn't realize just how low the V in the back was until the dress was almost finished though... if I were to make another winter version I would either fill that in or raise it up.

  I was a bit disappointed in how plain the front of the dress was, since I used solids only there. I ended up adding a little fluffy thing with a bit of tulle and ric-rac to add a bit of interest, but I think an embroidered silver snowflake would have been better. I just didn't have time for that!

  I made a mistake while I was sewing things together and sewed the wrong sides of the skirt together... meaning the opening for the side zip was on one side of the bodice and the other side of the skirt. I un-picked it halfway, but I'd already graded the seam allowances, and it definitely made it harder to sew that zipper in! I've got an unpleasant pucker going on, and things don't quite line up... and having sleeves in the dress made zipper insertion even more difficult.

  The pattern has the bodice fully lined, except the area around the zipper. I chose to further complicate things by hand-stitching the bodice lining to the zipper after sewing it in. It's a bit messy, but I still prefer it to serged edges there. The outer skirt is tucked inside the flounce and sewn, but the underskirt sides are just serged.

  The pattern suggested slip-stitching the bodice lining down, but I stitched in the ditch instead... due in part to time constraints, but also because I need the practice. =)

  The sleeves were inserted using my usual method, but I left the zipper side of the bodice open beneath the sleeve almost to the top. That zipper insertion... ergh. The sleeves are gathered with elastic thread near the hems.

    As for the pattern itself? I'll probably use it again, but I can't fully recommend it. The instructions are good, but the front skirt was wider than the bodice and had to be eased in. There are no notches, and although the pivot points for sewing the flounces were marked, the position to tack them to the bodice was not. It's a decent pattern, and if you are an experienced seamstress it will probably turn out great for you, but it could use a bit more work.

  That said, the results are beautiful, and the flounce is nicely drafted. Gaiw loves how it twirls! She says 'I want to wear my beautiful dress, mama!' just about every other day. =)

  And I have to admit, the dress fits her personality beautifully... quiet at first, with a lot of depth as you look closer.

  One dress left, then I'm finally done with Christmas 2014! =)

Thanks for stopping by,

Thursday, January 29, 2015

Snowflake Florence Blouse and Tulle Skirt

  Back in November, SarahLynn, one of the lovely Shaffer Sisters, posted this darling outfit on their blog. The jacket was impressive, and the headband darling, but what really got my attention was the beautiful snowflake fabric the dress was made from.

  After asking where the fabric was from, I visited a Walmart and picked up 3 yards. I didn't have any concrete plans for it... something for the daughters, maybe, so I bought enough for pretty much anything I could make for any of the girls, or enough for a blouse for me. I washed it, then left it in my sewing room while working on Christmas gifts, admiring it every now and then.

  And suddenly, inspiration struck. Not one dress for one daughter.... 3 outfits, one for each. I chose my patterns, drew pictures to determine layout, and headed back to buy a few more yards of the snowflake fabric... but it was gone. So I added some solid navy and grey, along with tulle, and decided on a new layout. This is the outfit I made for Booper.

  In addition to being inspired by SarahLynn's fabric choice, I really loved how Sarah of The Crazy Tailor paired the Florence blouse with a full skirt, so I mimicked that in designing this outfit.

  First, the shirt! This is the Florence Blouse, by Made-It Patterns. Based on the measurement chart, Booper was in a size 4 with a 5 length. Since Booper is developing shoulders like mine, I also went with a size 5 in the upper chest. The fit is very good, a tiny bit shorter than I expected based on the pattern photos, but overall pretty close. The sleeves are the right length when Booper's arms are down, and the shoulders and collar are fitted but comfortable.

  The pattern instructions were very good, and the pieces fit together beautifully. The notches all matched, with one exception-the sleeve notches. However, until I've made another I can't be sure if I flubbed it when I made the shoulders a size 5 and bodice a size 4... I can't even remember if I cut the sleeves a straight 5 or partially a 4, so there's a good possibility the mismatch is my fault here. Luckily, it was an easy fix by just adjusting the gathering.

  I like that the mandarin collar and button placket are sewn using the classic method... I wish the cuffs had a proper placket too. I did not top-stitch around the upper portion of the collar, because I thought I was almost out of dark blue thread. (I discovered I had 4 serger cones of it later on. Oops). Also, the rest of my top-stitching is not that great... I had the presser foot pressure too high and it kept twisting the fabric under the foot. It took me until after the plackets were done to figure out what was going wrong, and since I thought I was almost out of matching thread, I didn't unpick it.

  The flounce on the front is sewn in an unusual manner... the raw edges are pressed toward the right side of the fabric, and the trim top-stitched on top of them. It looks neatly finished on both the back and front, but I can't help but wonder if it will fray out from under the trim after a few washes.

  The back yoke is sewn very nicely, and neatly finished on the inside.

  I was worried that the point of the yoke would be difficult, but it really wasn't, and it didn't pucker at all (until I washed it, which is when these flat photos were taken).

  Other than the yoke, collar, and placket, all of the seams are just serged. I'd prefer them to be flat-felled, but I appreciate that the instructions mentioned when to finish each seam. Overall, I would recommend this pattern.

  I was planning on proper buttonholes and buttons, and had a nice set of buttons all ready to go... but when I pulled out my vintage buttonholer, the closest cams were either quite a bit too small or quite a bit too large. I tested it anyway, on some scraps, but the buttons either popped right out or couldn't go through the hole. This was the Friday before Christmas... and this shirt was supposed to be done by Christmas morning! I looked for a cam in the right size first, but I only found one on a random site that I didn't quite trust. Instead, I sent a convo to this Etsy shop about a rush order of the silver heart snaps... and yay, they were willing to go for it! I also ordered a set of round grey snaps from Amazon with two-day shipping as back-up, but I didn't need to. The silver heart snaps arrived in time, and looked great with the fabric. =)

  Now for the skirt. This skirt was.... difficult. I should have paid more attention and either used Stef's tutorial, or this free pattern from Oliver+S. But I stupidly decided to wing it, and ended up unpicking several yards of tulle and really hating the whole process. I had a hard time keeping the tulle straight when cutting... pre-washing it wrinkled it and ironing it didn't get the wrinkles out. It turned out okay, but it bunches up like crazy when it's moved in, and sadly, Booper has torn it in about 4 spots already. =( That and the cutting and bunching problems are why the hem is so un-even here.

  I'm not really happy with the end skirt, but it still looked cute with the shirt, and Booper was delighted with it.

  And at least I took the time to make it comfortable, with a lining and covered waistband! =)

  That's it for this outfit! Back soon with what I sewed for Gaiw. =)
Thanks for stopping by,